If you are on a budget and you need an email system that doesn't require licensing and run on a modest hardware, Zimbra is a good choice.
1. Install CentOS 8 as it is now supported as of sept 2020
Start off with a minimal installation of CentOS 8.
Our configuration:
- KVM virtual machine
- 2x CPU cores
- 8GB RAM
- 40GB disk space
First, install the basic packages on the CentOS box:
yum install -y vim tar perl nmap-ncat net-tools bind-utils epel-release
yum update -y
2. Add public DNS records
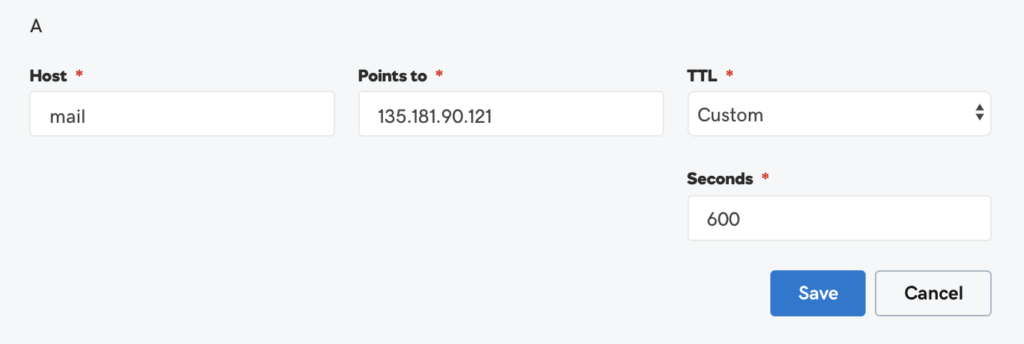
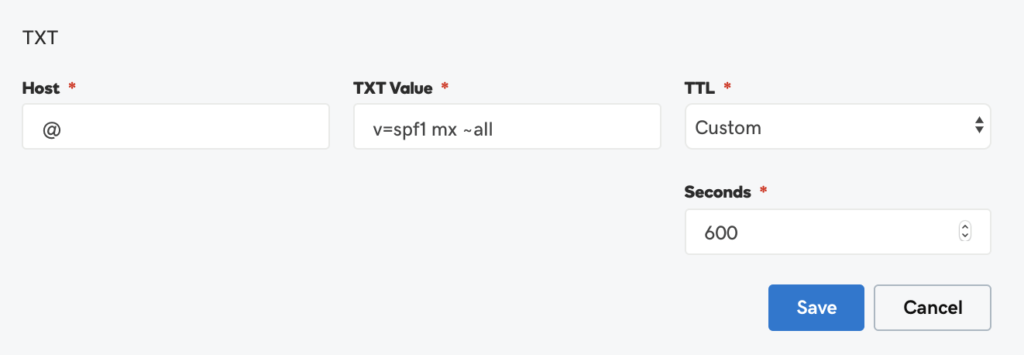
We add the following three records to the public DNS system: the A record for the mail.protectigate.com server, the MX record to point to our new A record. The SPF record allows all servers that are referred to by the MX records to send protectigate.com emails out publicly.


3. Prepare for Zimbra
# Change hostname to mail.protectigate.com
hostname mail.protectigate.com
In /etc/hosts change the loopback IP to the actual IP address of the server for the custom domain. First of all, localhost needs to resolve to the loopback (127.0.0.1) address, to make sure mysql user access works as intended. Second of all, the Zimbra LDAP module needs the FQDN to be present in the hosts file with the actual server IP.
4. Install Zimbra
Download the latest version of Zimbra Collaboration - Open Source Edition:
https://www.zimbra.com/try/zimbra-collaboration-open-source/
(at this point in time it's: https://files.zimbra.com/downloads/8.8.15_GA/zcs-8.8.15_GA_3953.RHEL8_64.20200629025823.tgz)
Copy over to /tmp from PC:
scp zcs-8.8.15_GA_3953.RHEL8_64.20200629025823.tgz root@mail.protectigate.com:/tmp/
On the CentOS/RHEL server:
# Change work dir to /tmp
cd /tmp

# Extract the Zimbra installer
tar -xvf zcs-8.8.15_GA_3953.RHEL8_64.20200629025823.tgz

# Change work dir to the Zimbra installer dir
cd zcs-8.8.15_GA_3953.RHEL8_64.20200629025823

# Run the installer
./install.sh
- s) Save config to file
- x) Expand menu
- q) Quit
- s) Save config to file
- x) Expand menu
- q) Quit
4. Accessing the management console
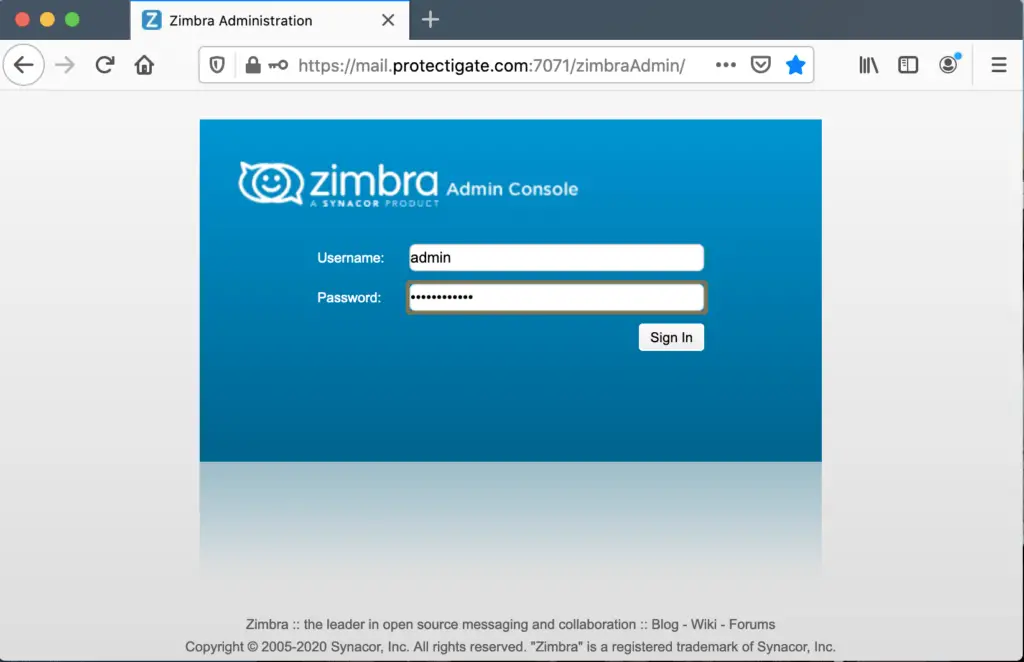
The webui management console is listening on port 7071/tcp and uses the https protocol. We can access it with username 'admin' and the password we specified earlier. In our case it is 'Sup3rSecret!'

5. Accessing the User WebUI
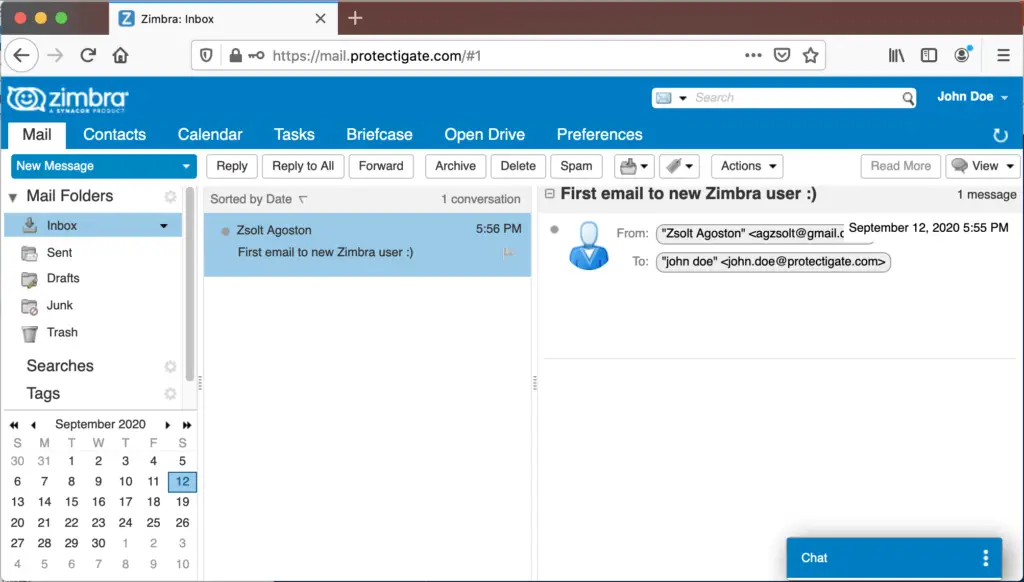
Regular users access the console on the traditional HTTPS port:

6. TROUBLESHOOTING
7. Deploy auto-renewing public SSL for Zimbra
8. Set up DKIM for Zimbra
Article is coming on 19/sept/2020 (this Saturday)

Comments