If you desperately need an SSL certificate signed by a publicly trusted CA, and you want it for free, Let’s Encrypt is certainly an option. They are valid for 3 months, and even though linux boxes are equipped to request and auto-renew them, we can certainly deploy them in our IIS service, let’s see how.
We have our server hosting our presentation webpage, we want it to be publicly available and use HTTPS on it.
Inventory, Requirements:
- Local IIS server: WEBSERVER.jd0e.com
- Public address: https://presentation.jd0e.com
Creating the SSL – linux to the rescue
First, we need to have certbot, the official app Let’s Encrypt has to generate our certificate, the private key, and CA signed public key. We use a Debian VM for that, which has 80/tcp publicly accessible from the public IP assigned to presentation.opentechtips.com publicly, that is for certbot to veify our domain ownership. Once it is done, we redirect public traffic from the linux box to the actual IIS box.
We install the certbot package on our fresh Debian box
# Install the Let’s Encrypt agent
 apt install certbot

# Generate the certificate
 certbot certonly --standalone --preferred-challenges http -d presentation.jd0e.com
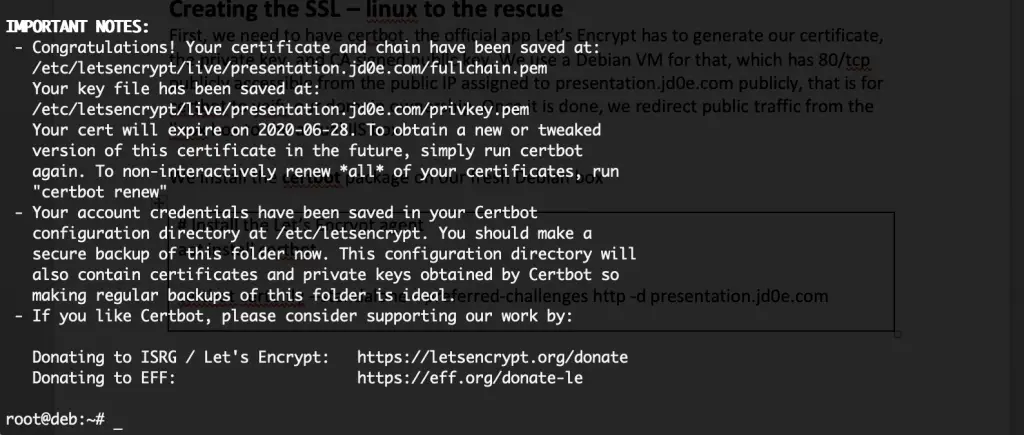
After the verification process, where the agent temporarily spins up a simple http server, exposing a verification file temporarily online. This is to automatically check that this server is reached publicly when browsing to the domain specified in the cert request. We get the location of the cert files – which is /etc/letsencrypt/live/presentation.jd0e.com, and the validity period confirmed.
Packing the SSL keys in a single PFX file for Windows
We simply navigate in the directory that contains the private key, public key and the chain information file, and generate our .PFX file that can be imported in the Windows box.
 cd /etc/letsencrypt/live/presentation.jd0e.com

# Packing the SSL into a PKCS12-type file
 openssl pkcs12 -export -out /tmp/presentation_jd0e_com.pfx -inkey privkey.pem -in cert.pem -certfile chain.pem

Now we only need to copy the file to the windows machine. I usually use ssh, copying the file over from the /tmp directory on the linux box to the c:\temp folder on the windows server.

Importing the SSL and setting up IIS
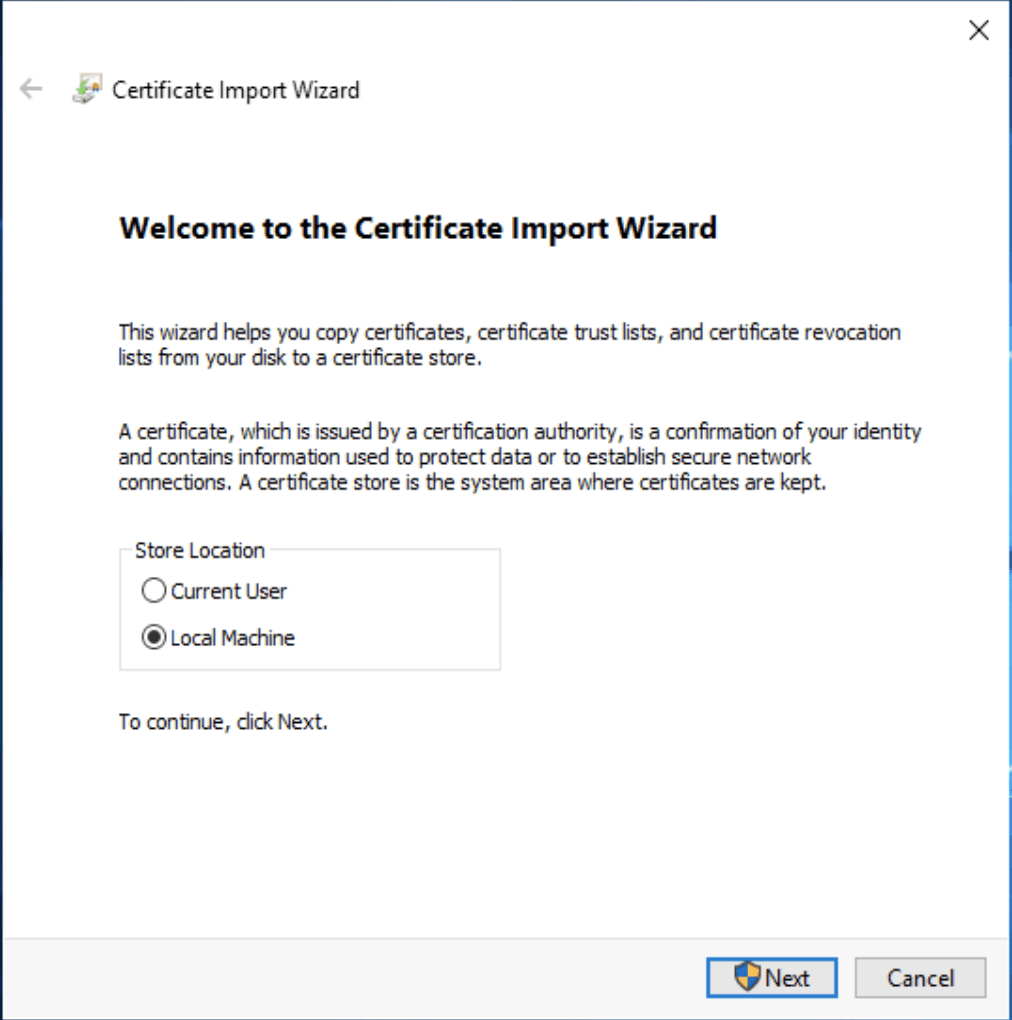
Now the only thing is left is importing the certificate and setting up IIS. To import the pfx file we double-click on it, select the local computer as the target store. Mark the private key as exportable for possible future distribution of the cert, then import it to the personal container.
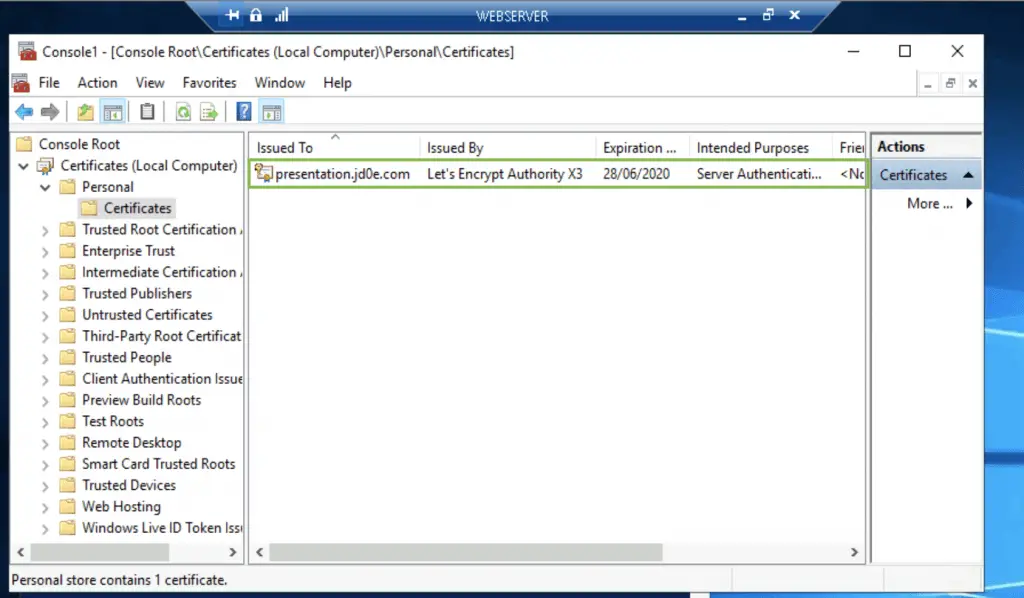
Checking the store shows the certificate, the small key-symbol in the corner of the certificate-icon shows that we have a valid private key also imported so it will show up in IIS without a problem.
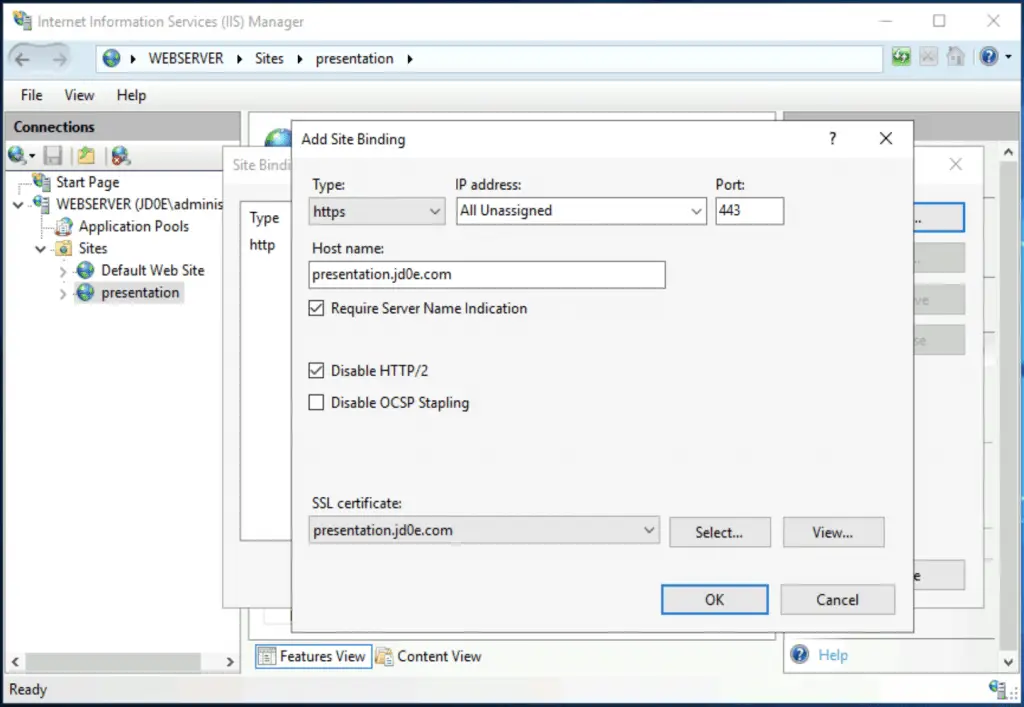
We create the new “presentation” site in IIS and bind the cert to port 443/tcp (HTTPS), see below.
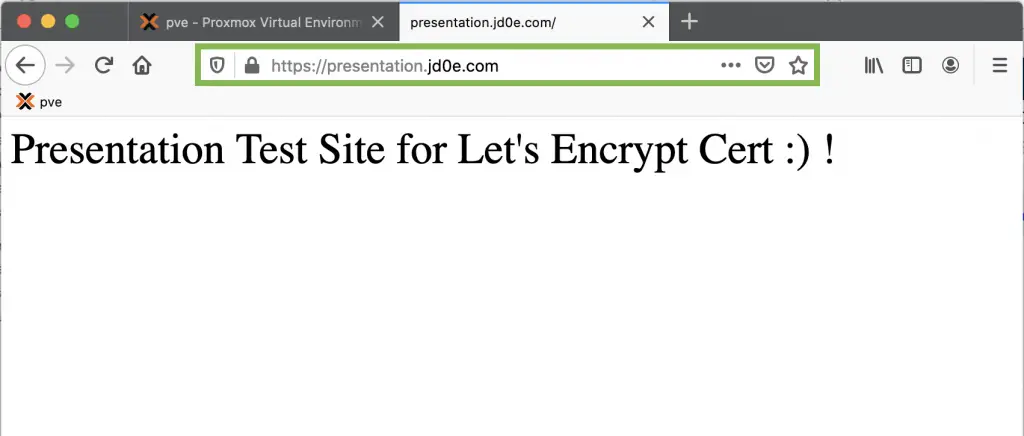
Now we only need to verify if the site is accessible and encrypted 🙂

Comments