• Skip to primary navigation
  • Skip to main content
  • Skip to primary sidebar
  • Skip to secondary sidebar
OpenTechTips

OpenTechTips

Short Guides for IT Professionals

MENUMENU
  • HOME
  • ALL TOPICS
    • Active Directory
    • Exchange
    • InfoSec
    • Linux
    • Networking
    • Scripting
      • PowerShell
    • SSL
    • Virtualization
    • Web
    • Tools
  • ABOUT
  • SUBSCRIBE
Home » How to Securely Wipe a Disk in Windows 10 – No Extra Software Needed!

How to Securely Wipe a Disk in Windows 10 – No Extra Software Needed!

April 7, 2022 - by Zsolt Agoston - last edited on April 7, 2022

So you got a new SSD and want to discard your old HDD after the data was transferred through the new drive?

Or just want to make sure a disk is clean and no data is recoverable from it?

How to Securely Wipe a Disk in Windows 10 – No Extra Software Needed!

Securely Wipe Disk - Commands

Windows has a built-in disk utility, called diskpart. It's clean all function wipes your hard drive, USB drive or any other storage device.

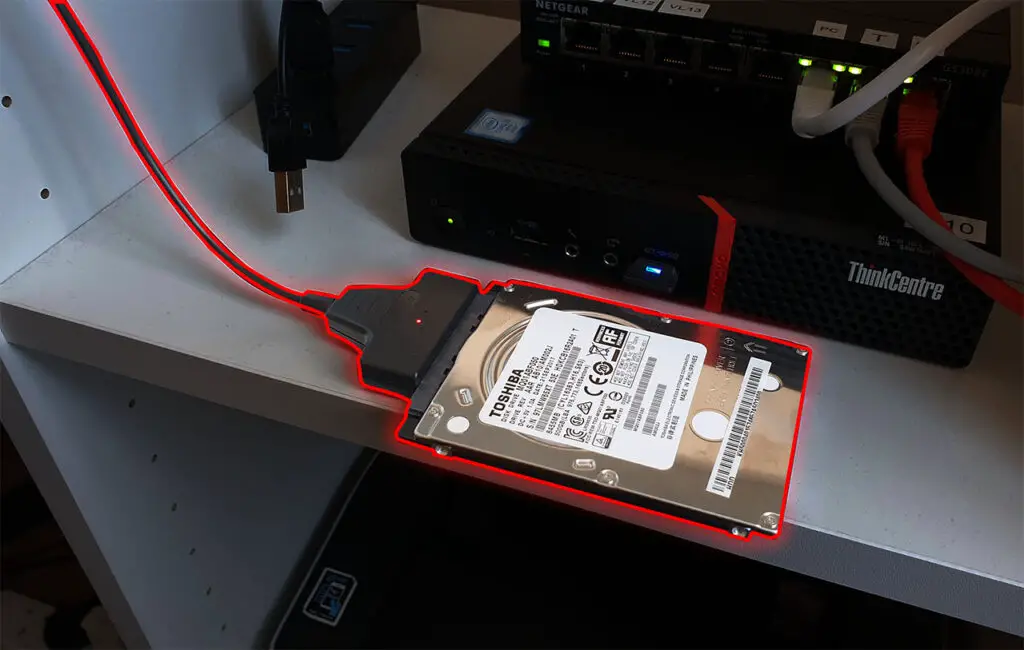
1. Connect your disk drive to the computer.

How to Securely Wipe a Disk in Windows 10 – No Extra Software Needed!

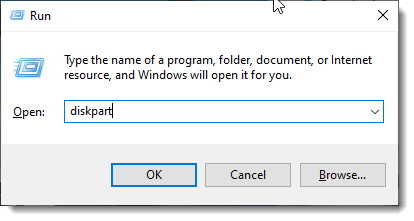
2. Open diskpart up. Push [Win key + R], or right-click on the Start button and select Run. Type in diskpart and hit Enter.

How to Securely Wipe a Disk in Windows 10 – No Extra Software Needed!

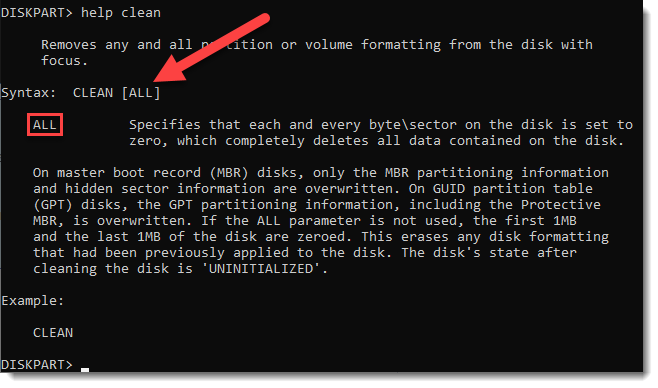
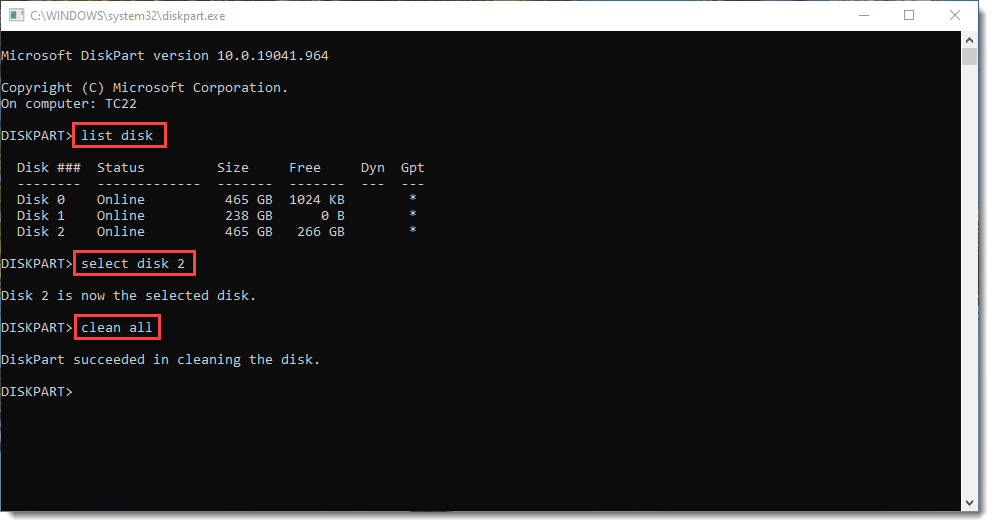
3. List all disks and select the one that you want to wipe. In this example it's disk 2. Then issue the clean all command to write over all bytes on the disk with 0s.

list disk
select disk [#nr]
clean all

The process might take a long time, when finished simply exit the utility with the exit command.

How to Securely Wipe a Disk in Windows 10 – No Extra Software Needed!

Reader Interactions

Community Questions Cancel reply

Your email address will not be published. Required fields are marked *

Primary Sidebar

Tools

Secondary Sidebar

  • Terms of Use
  • Disclaimer
  • Privacy Policy