In this article we are migrating our alwayshotcafe.com email system to the Office365 cloud.
For details on how the on-prem environment was built, please visit the corresponding article here: How to Install a new Microsoft Exchange 2019 Server – Step by Step shows how we originally built the on-prem Exchange 2019 environment.
Basics
Our goal in this article is to migrate our purely on-prem Exchange 2019 email system to the Microsoft365 cloud, creating a hybrid environment. As a result the on-prem AD and user accounts will be "shared" with the cloud AD. That makes user administration a lot less demanding in an admin perspective, and improves user experience as well, as SSO can be achieved.
Hybrid Exchange systems mean we keep our on-prem environment, with at least one Exchange server (even if it servers only management purposes), and create a new environment in Office365. Office365 will use it's own active directory, called AzureAD, a proper active directory system with the domain name of [our tenant].onmicrosoft.com. We bind the on-prem and cloud environments together using Azure AD Connect (earlier DirSync), which technically mirrors, synchronizes all user accounts in selected OUs to the cloud tenant. This means if we have a user with the UPN of alice@alwayshotcafe.com, we'll have a same account in the cloud with all the important attributes synchronized from our on-prem AD.
Many other properties are also synced to the Azure AD, like the SMTP addresses, location, office, phone number, etc of the user. When an attribute changes, Azure AD Sync will update those changes periodically to Office365 (every 30 minutes by default, but that can be changed. Also, ad hoc sync cycles can be triggered anytime. Details here)
Being honest, we could have an on-prem - cloud hybrid environment even without an on-premises management server, but Microsoft does not support that scenario. However if you prefer taking that route, you'll need to edit AD account attributes with ADSIEdit or similar tools.
The purpose of a management server is that in a hybrid deployment, the on-prem user accounts are synchronized to the cloud, and user attributes can only be added/modified/deleted on-prem. Not in the cloud! For example, if you want to add an additional SMTP address to a user, or delete a user, or a contact, then you have to do that on-prem. This change then is synchronized to the cloud automatically.
Starting Scenario
On-prem:
2x Domain Controllers (DC, DC2)
2x Exchange 2019 Mailbox servers (MB1, MB2)
We install an additional server for the Azure AD Sync tool (AAD). If you want to save resources, you might install it on any available server. It needs to have a GUI though, AAZSync is not supported on a server core deployment.
We also install an Exchange 2016 management server for the hybrid setup, as Exchange 2019 is not supported for that purpose. Exchange 2010, 2013 or 2016 are accepted.
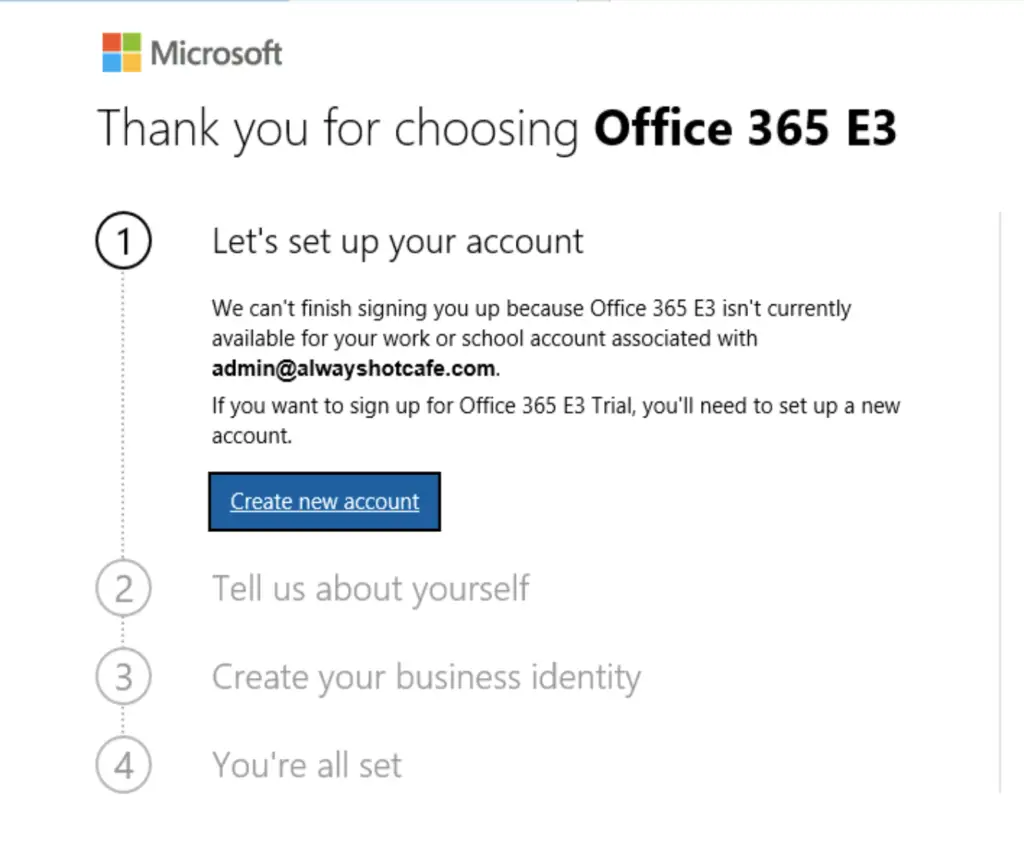
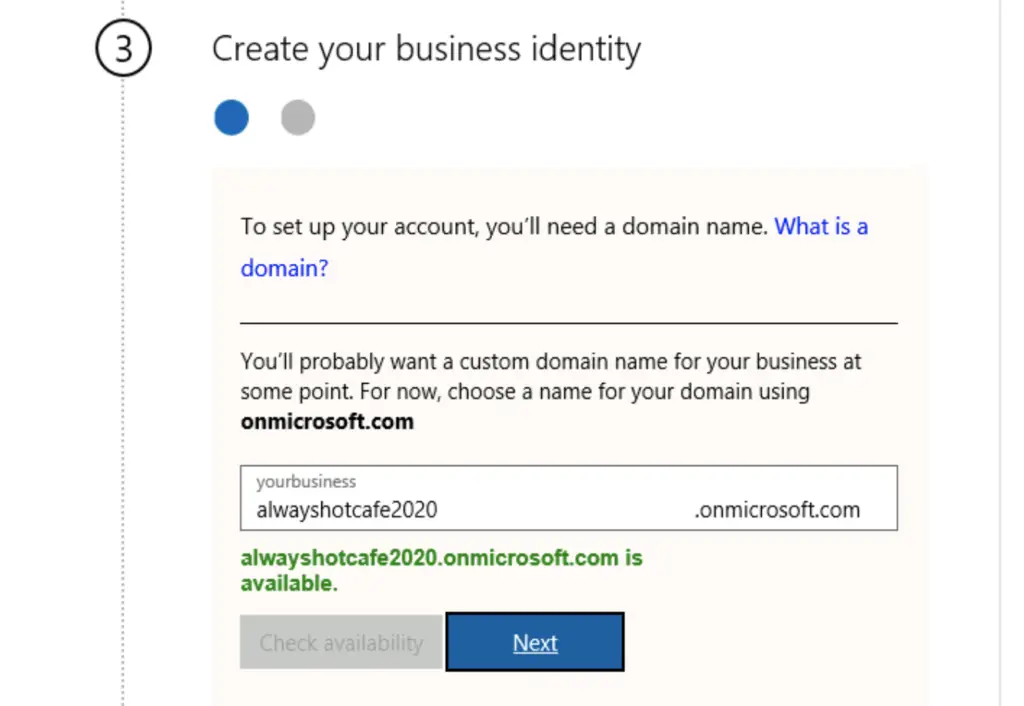
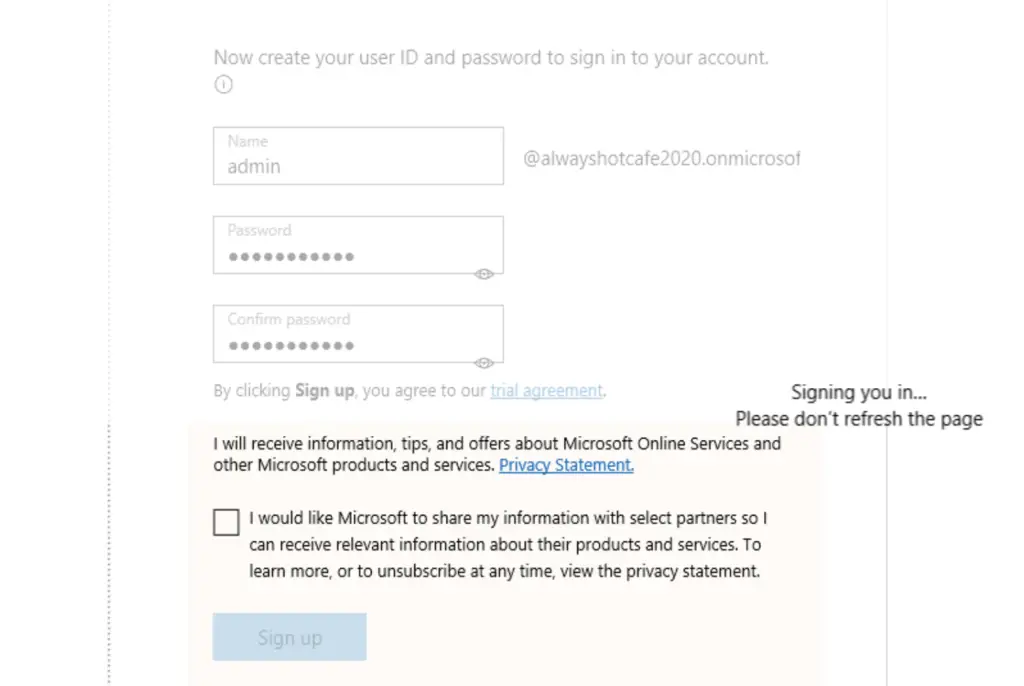
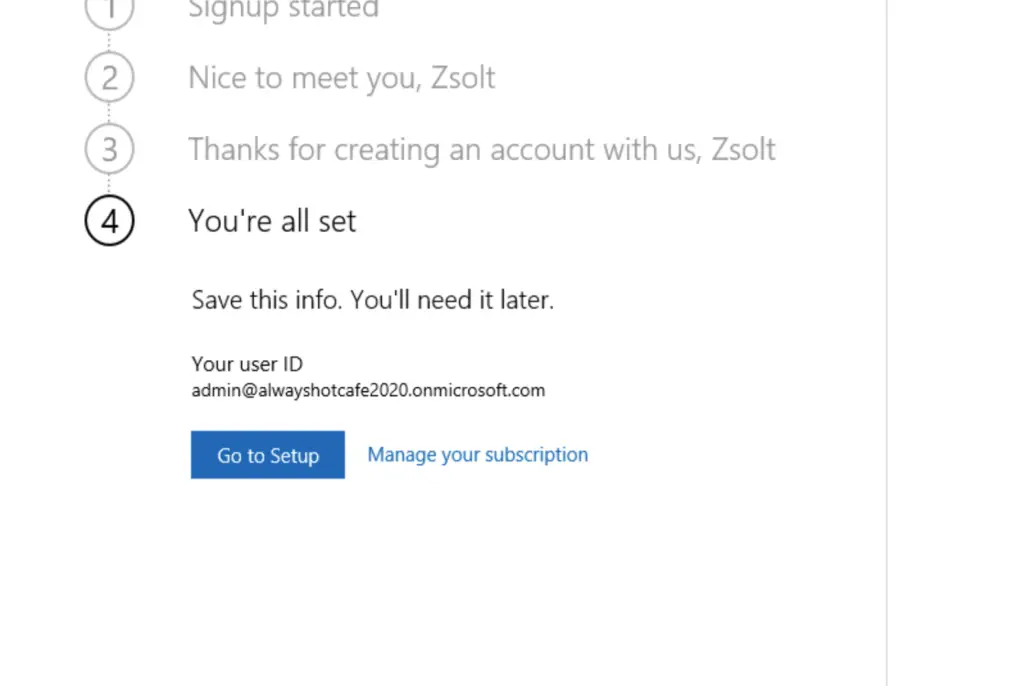
1. Create Office365 tenant
First, we create our Office365 tenant, using the E3 trial option that gives us 25 free E3 licenses for a month. Google "Office365 E3 trial" or follow this link:
https://www.microsoft.com/en-us/microsoft-365/business/office-365-enterprise-e3-business-software
2. Add our custom domain (alwayshotcafe.com) to the tenant
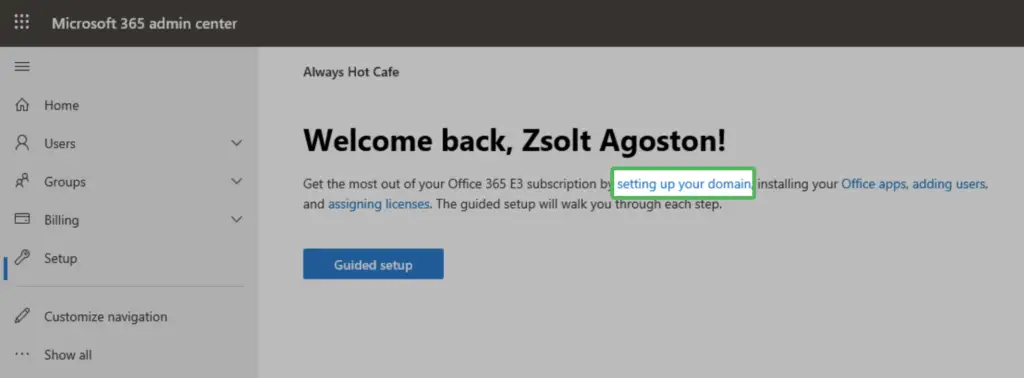
Time to access the new Office365 portal. To do that, visit the following link:
https://portal.office.com/adminportal
Under 'Setup' click on the 'Setting up your domain' link. Alternatively use the Settings/Domains/Add Domain option.
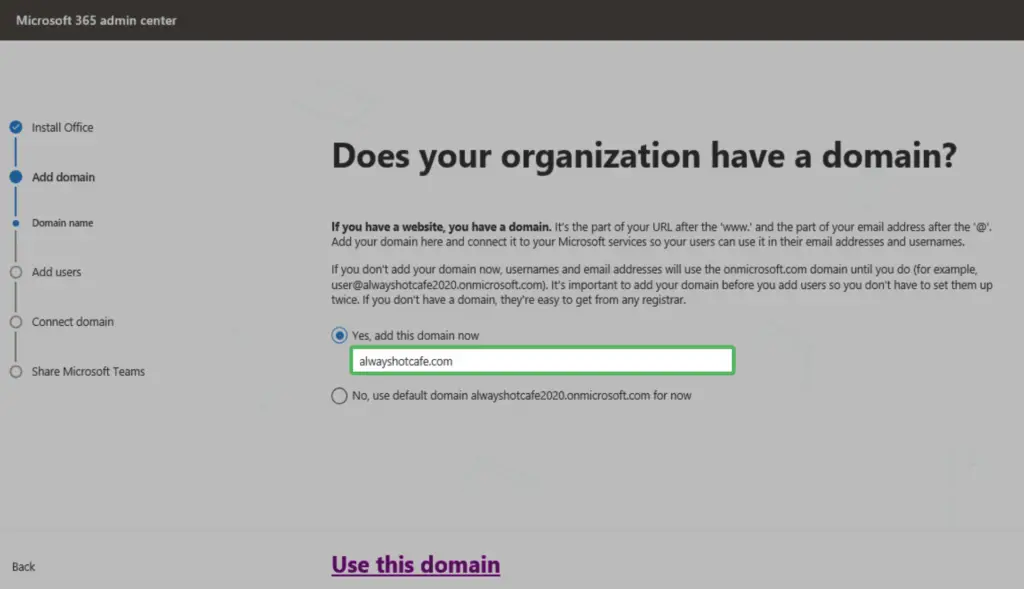
The next step is adding the alwayshotcafe.com domain:
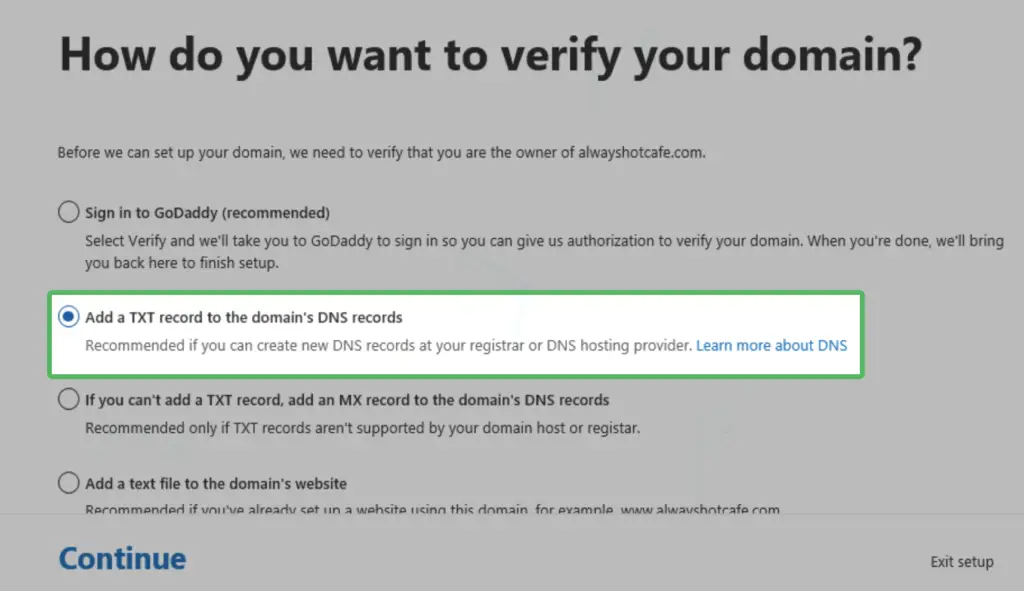
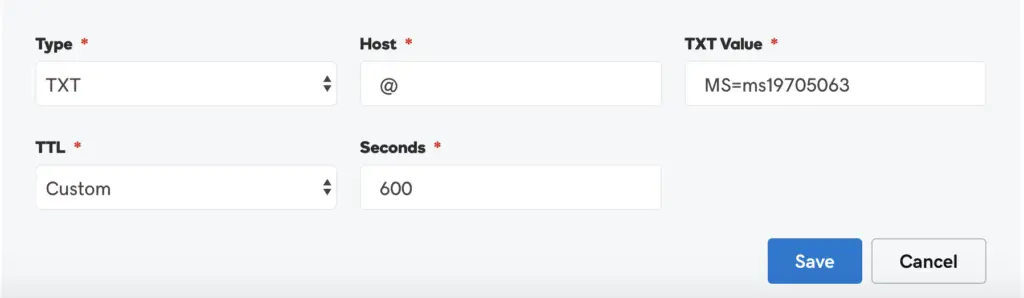
We go with the 'verification with TXT' option
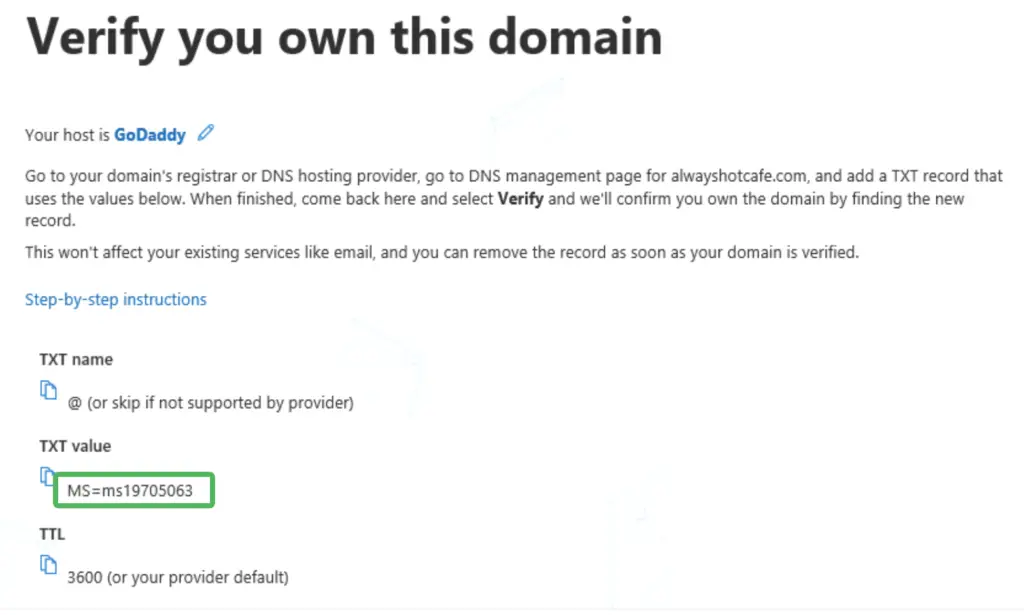
Then we add the requested record to our public DNS zone file
After the portal finishes with the verification process, we skip the "adding users" part.
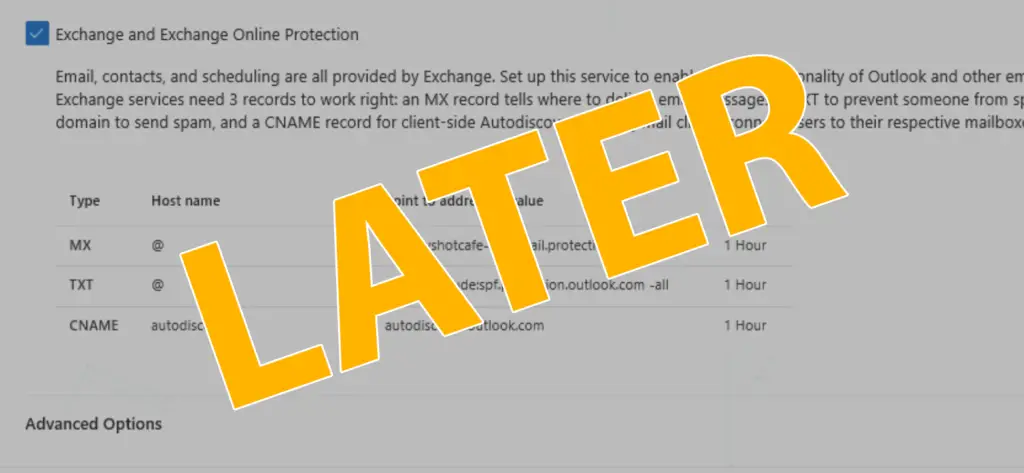
Now careful with the next part! Here we get the details on the DNS records that control mail flow: the MX record, SPF and Autodiscover entries. Make these amendments only when the cloud mail system is ready to receive emails! At thjs point, we neither have any users/mailboxes set up, not users can access the cloud so we postpone this step for later. We can set it up when the hybrid configuration wizard was run on the on-prem environment, so if emails arrive here, they will find their way down to the on-prem servers. Also note that even if we miss this step mail flow will be un-interrupted as the hybrid deployment of our final system will ensure incoming SMTP messages will reach the cloud, even if they were received by the on-prem servers.
Simply click on 'Exit setup'. The domain is added to the tenant now so we can proceed to the next step.
3. Run Microsoft IDFix tool for errors before Sync
Before proceeding with AD sync we need to make sure our domain is ready for the synchronization procedure. The IDFix tool was built just for this purpose. Navigate to this link and download the tool:
https://www.microsoft.com/en-gb/download/details.aspx?id=36832
Note: a newer version of the tool is uploaded to the Microsoft Github area:
https://github.com/microsoft/idfix
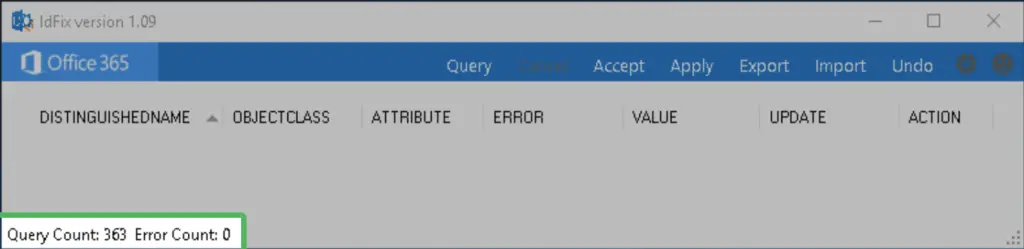
Follow the instructions on each error to fix all if there are issues the tool found. In our case we have 0 errors and we are ready to proceed finally with the sync tool.
4. Deploy Azure AD Sync (DirSync)
On our dedicated AAD server we download and run the Azure AD Connect installer from:
https://www.microsoft.com/en-us/download/details.aspx?id=47594
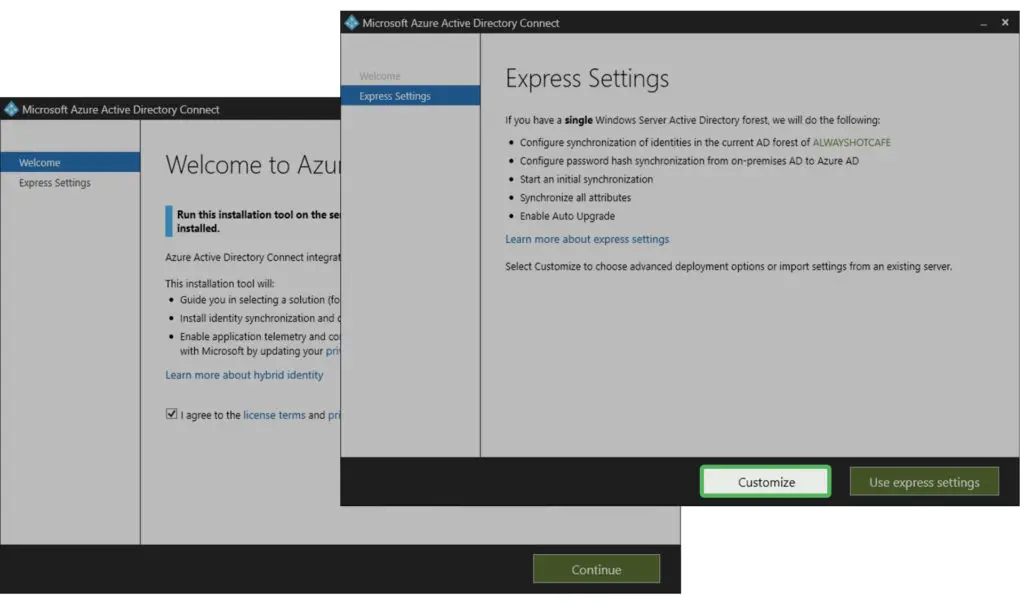
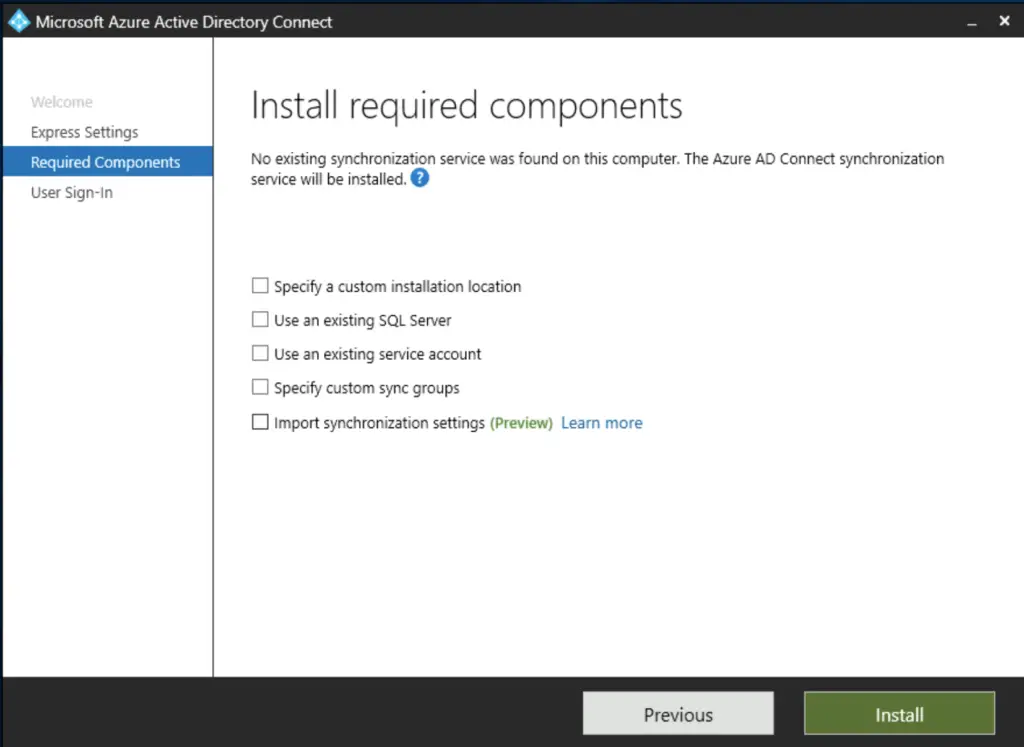
Once the setup has started, agree with the license conditions, then in the next step select the custom setup option.
On the next page we go with the defaults: nothing is checked.
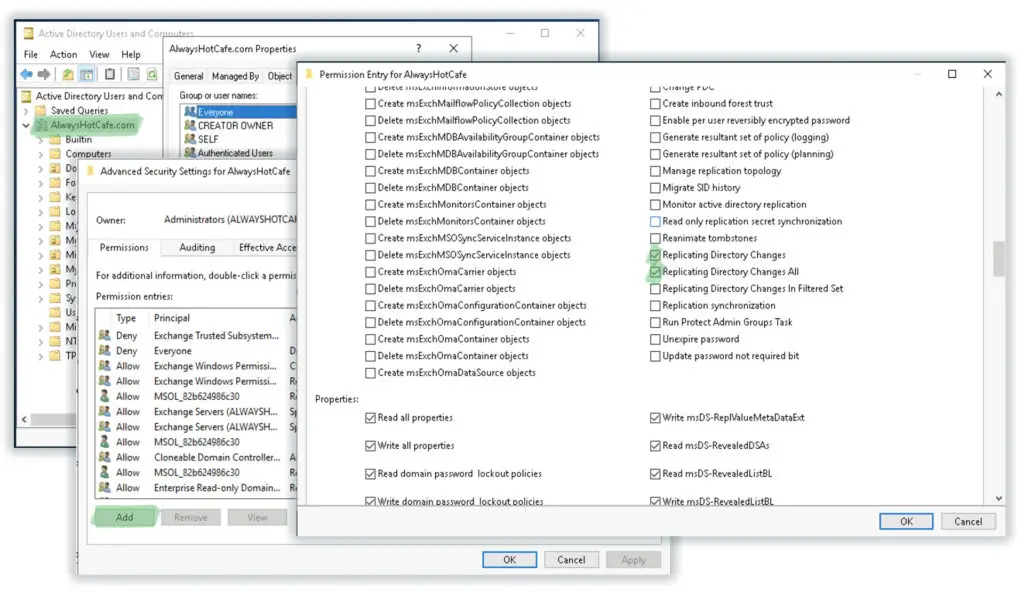
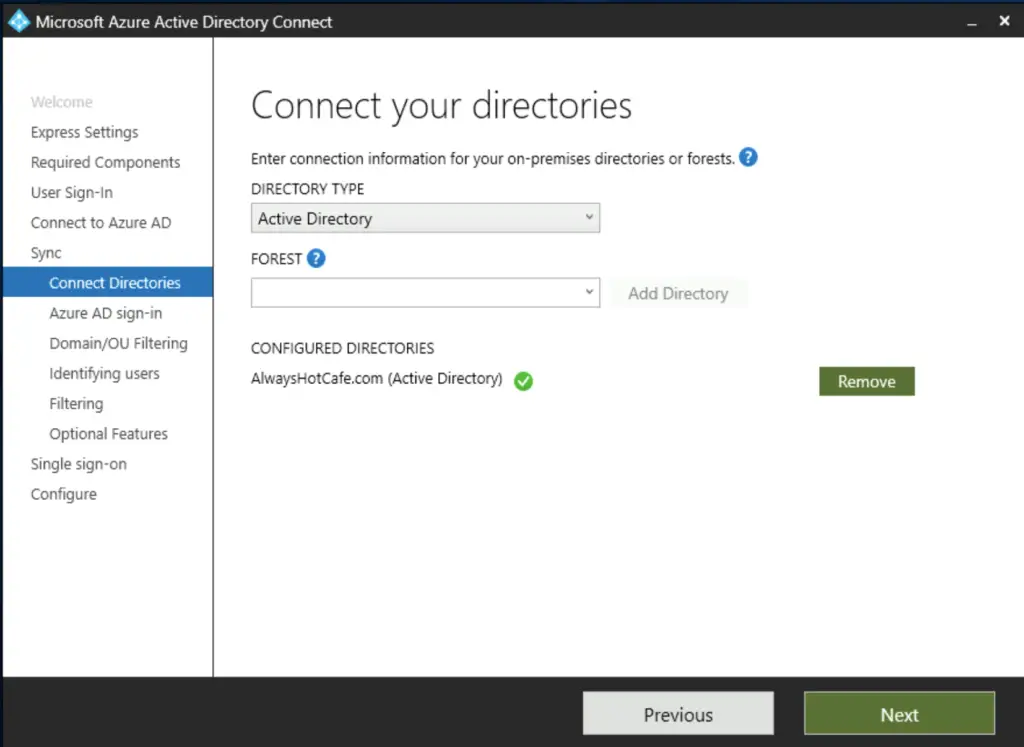
Next, we add the AlwaysHotCafe.com forest to the sync scope. We use an existing user account called alwayshotcafe.com\aad, which the sync tool will use to query our AD for user accounts.
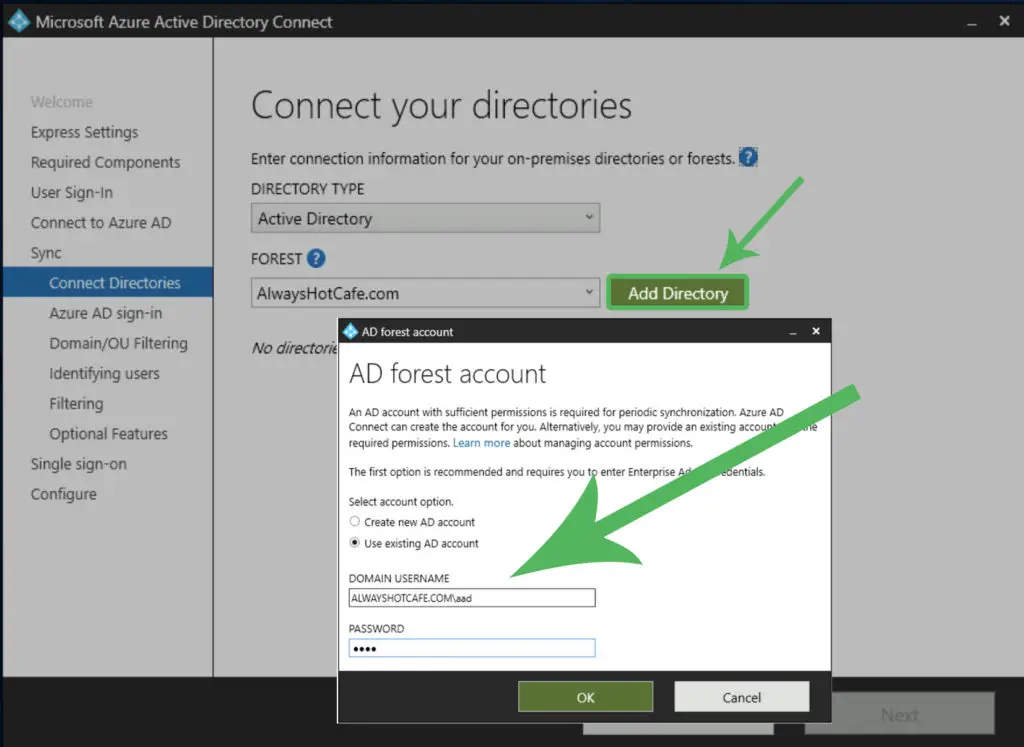
We click on "Next"
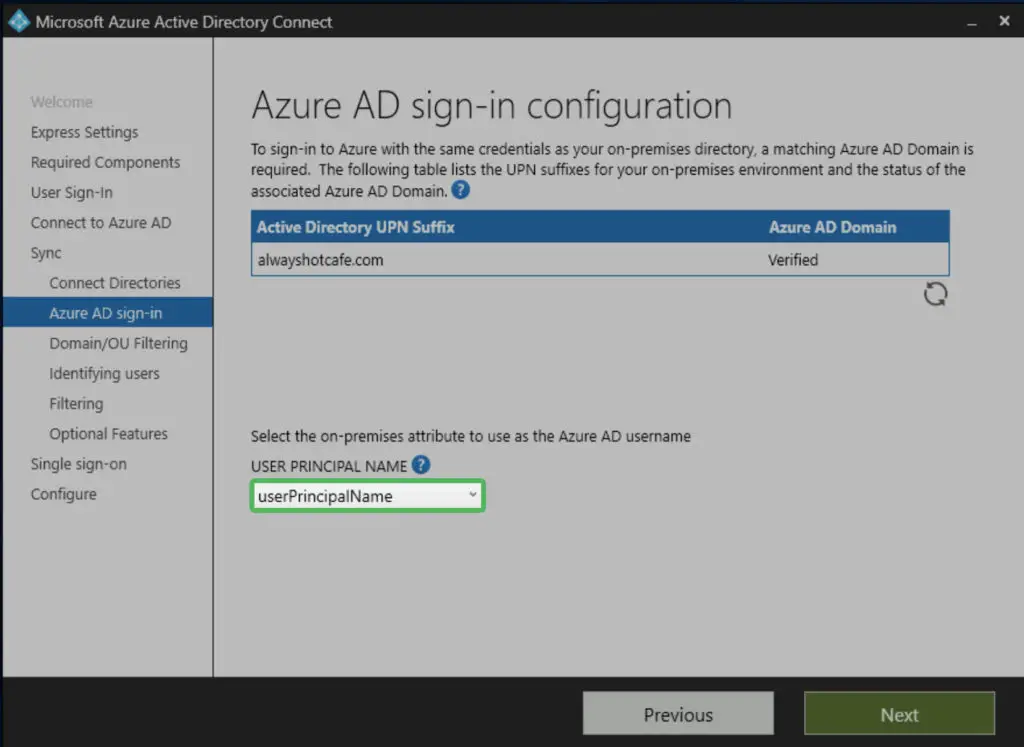
The on-prem attribute for the cloud username is the UPN by default, which is perfect for us, so we leave it as it is.
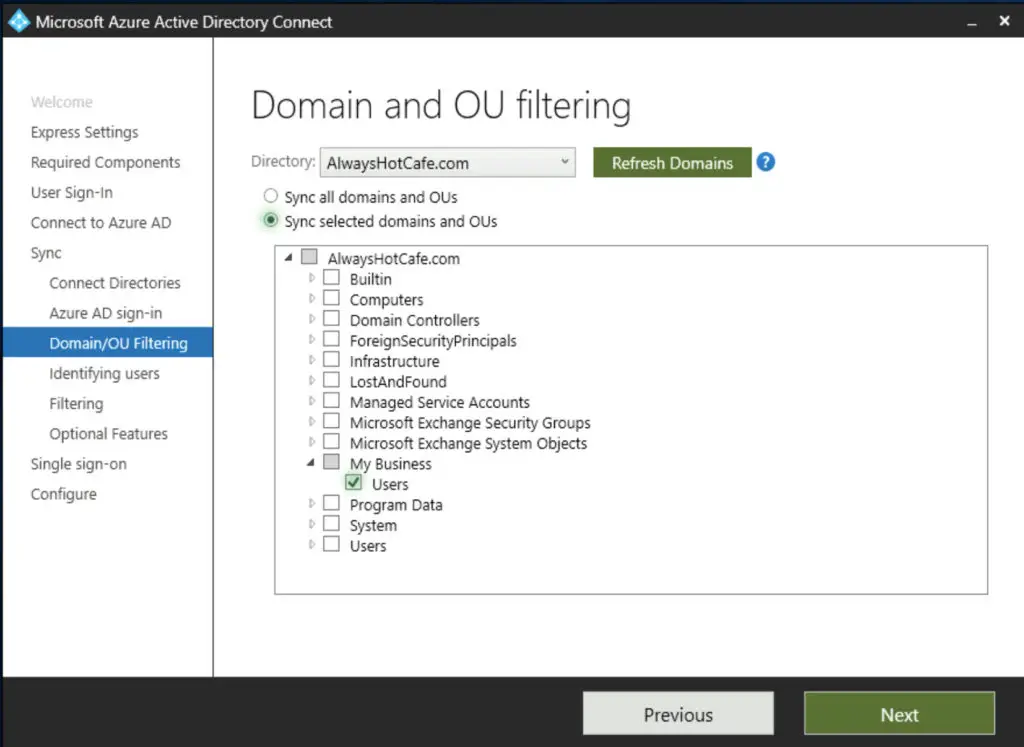
We select only the "My business\Users" OU, as this container has all the users we need to appear in Azure AD.
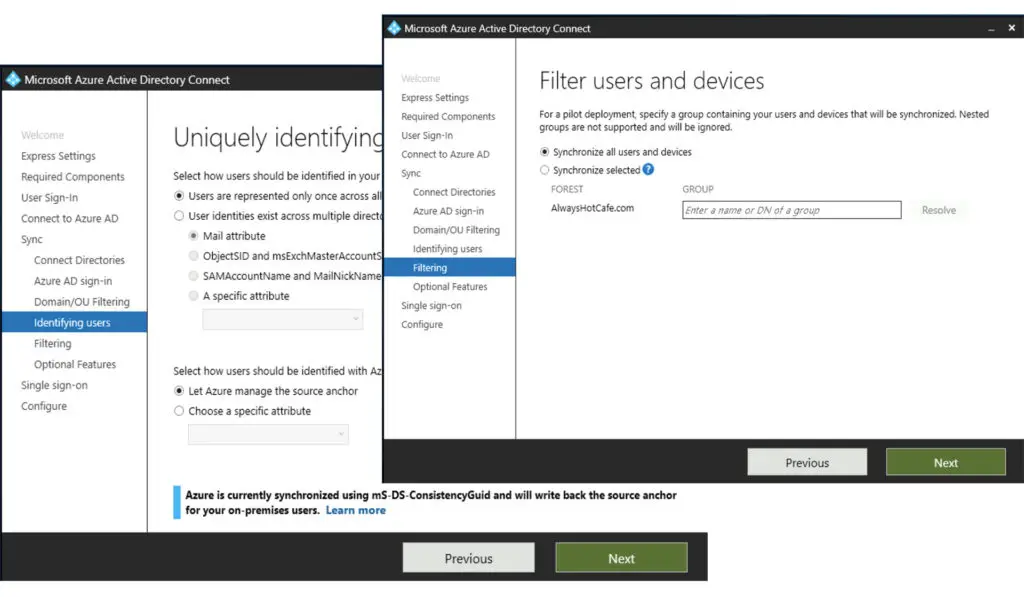
We leave the default values on the next two pages.
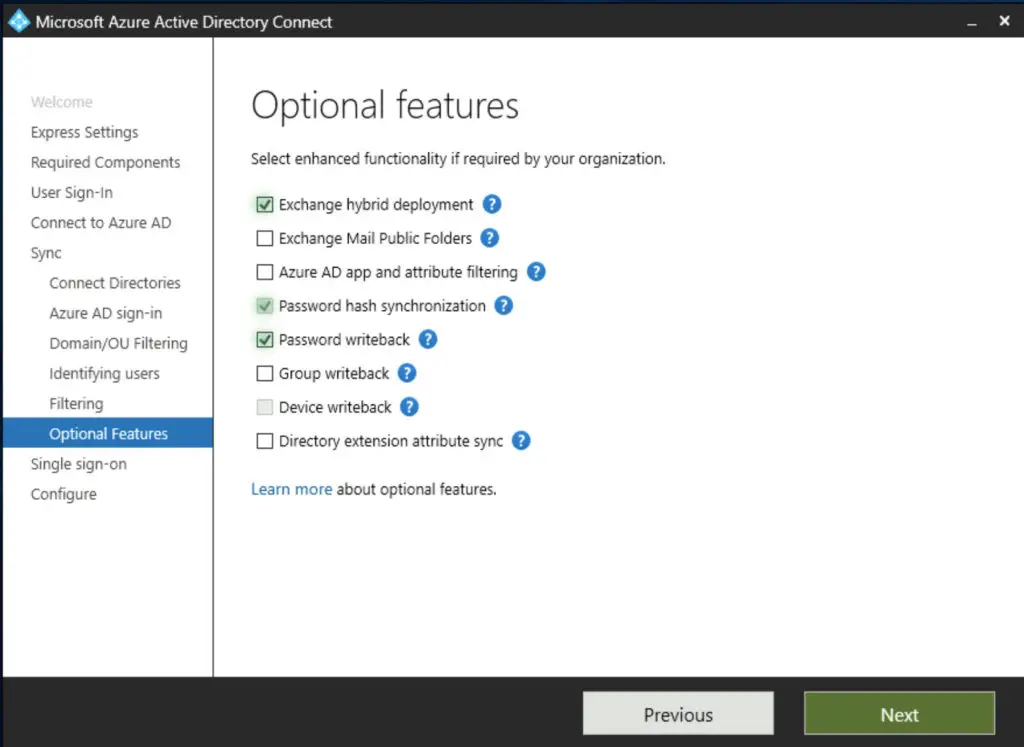
We select the hybrid environment, and password writeback options as we will run a hybrid environment and password writeback allows us to change user passwords from O365 which is then written back to the on-prem AD DS system.
Next, we add our domain admin credentials.
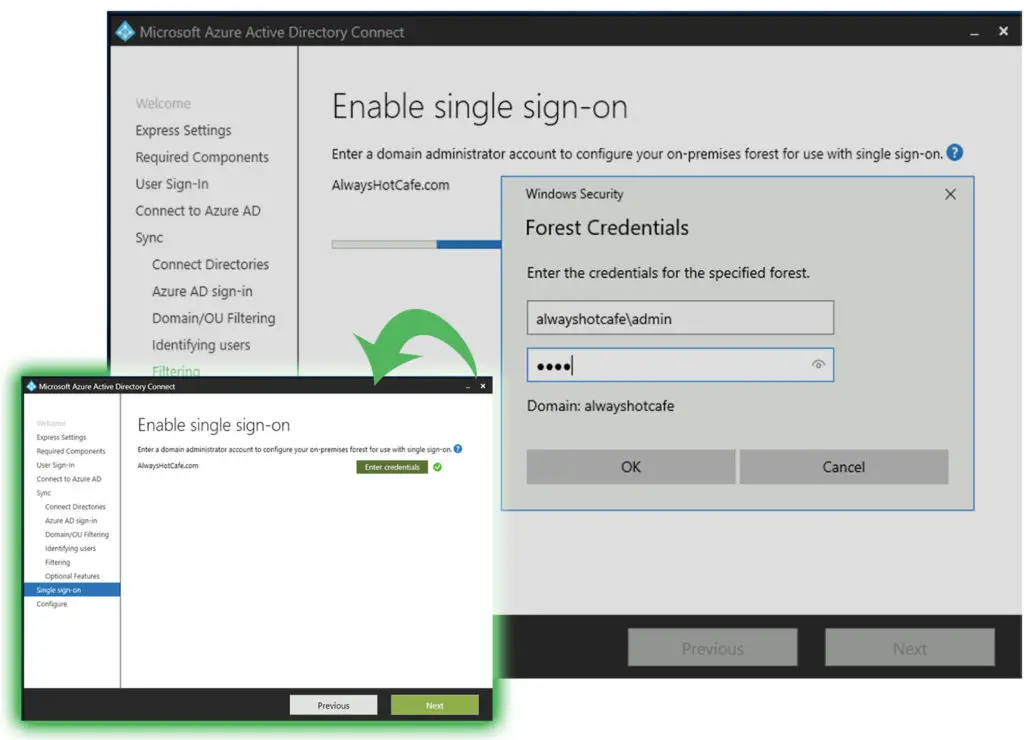
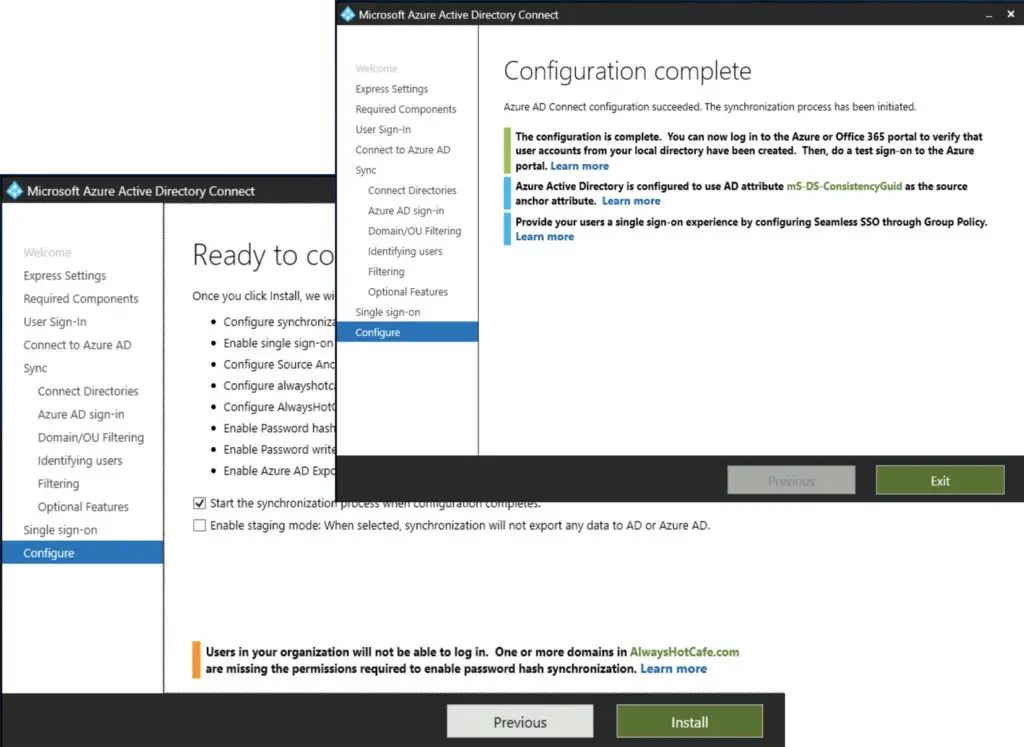
All is left to confirm the configuration and start the installation.
5. Create hybrid environment
To allow the on-premises servers and the cloud system work together as an organic whole the hybrid configurator will help us setting up everything. After it is run, data sharing (like free-busy info), CAS services (autodiscover) and mail flow will be properly set up between the two locations. That means if an email arrives to either the cloud or on-prem (depending where the MX records are pointing), the message will find it's way to the proper mailbox, no matter if it's hosted in the other side of the hybrid setup. Also, Autodiscover can point to either to the cloud or on-prem, the user experience won't suffer.
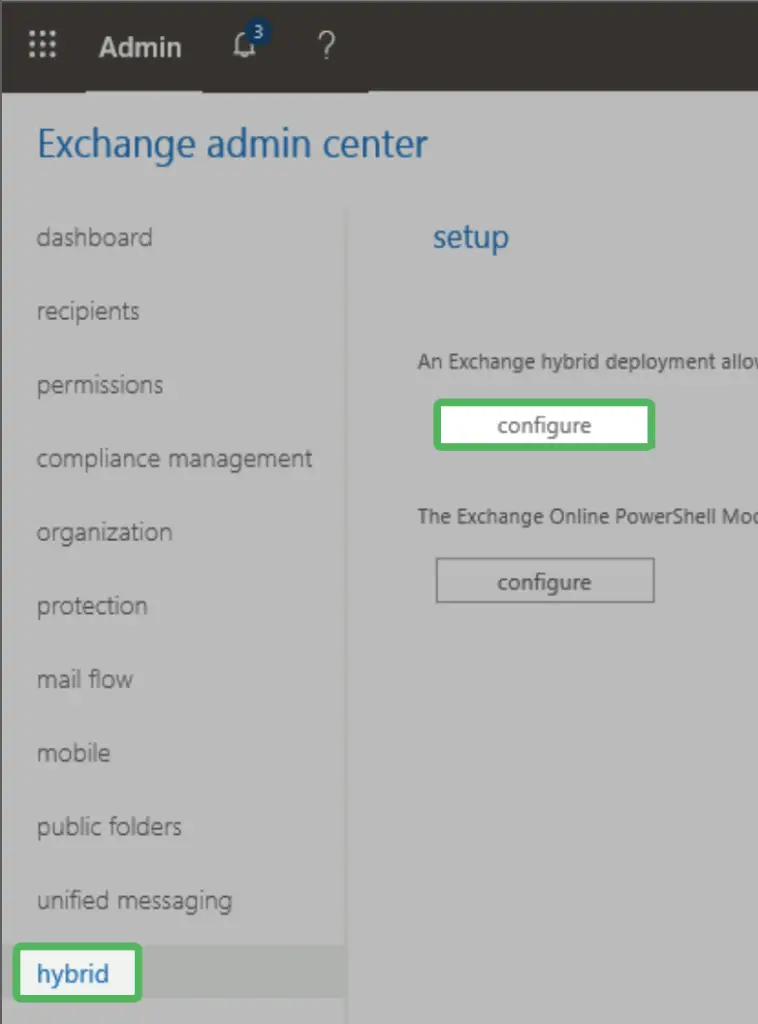
Open the Exchange Online portal (https://outlook.office365.com/ecp), and under the hybrid tab select the Configure Exchange Hybrid Deployment option.
Note: Exchange2019 is not supported in hybrid environments as of today (23 July 2020), so we first deploy a new Exchange 2016 server for this purpose. We will be able to license it when running the hybrid wizard later on.
a. Open the Exchange Online ecp: https://outlook.office365.com/ecp. Under the "hybrid" tab start the hybrid deployment wizard.
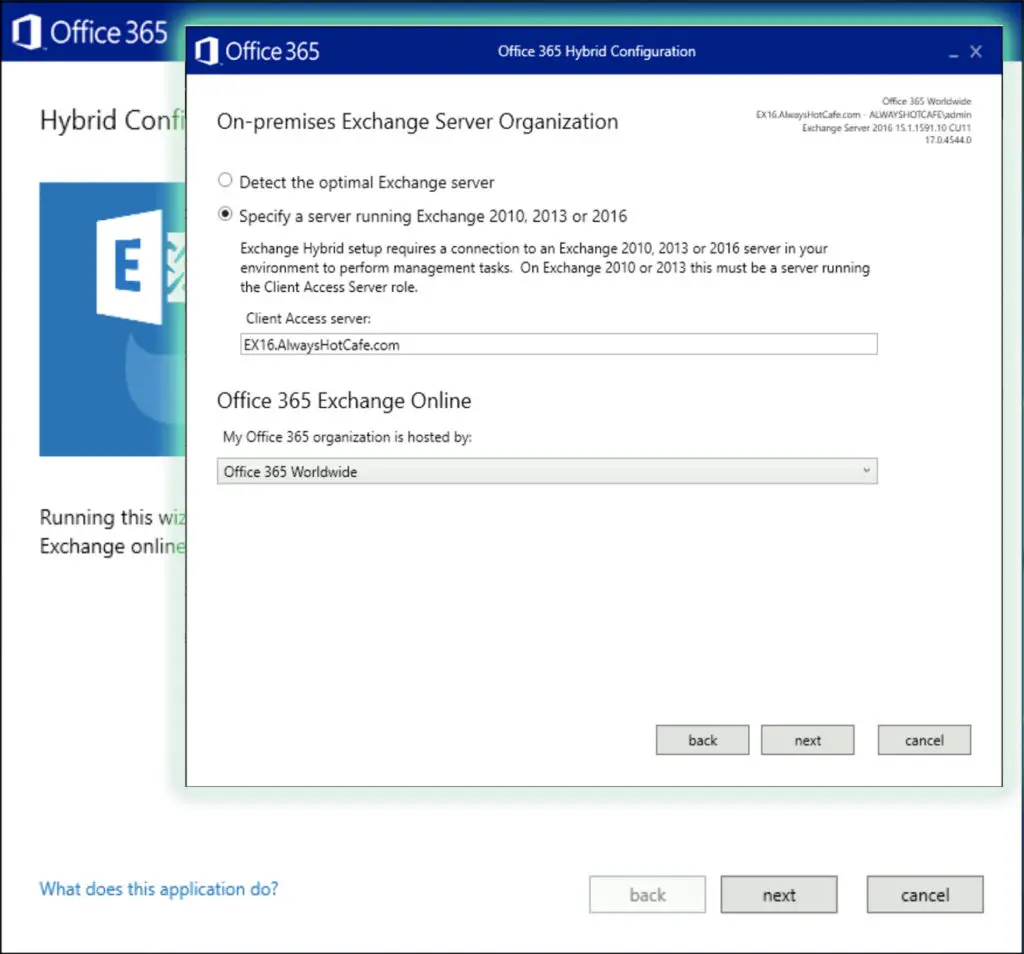
In the second page we manually specify our Exchange 2016 box as the wizard would automatically select our Exchange 2019 server, simply because they have a higher version number. The problem with them - again - is that they are not supported as a hybrid endpoint.
Next, we specify both of our on-prem and cloud admin credentials for the wizard, so it can perform the necessary configuration steps on both ends.
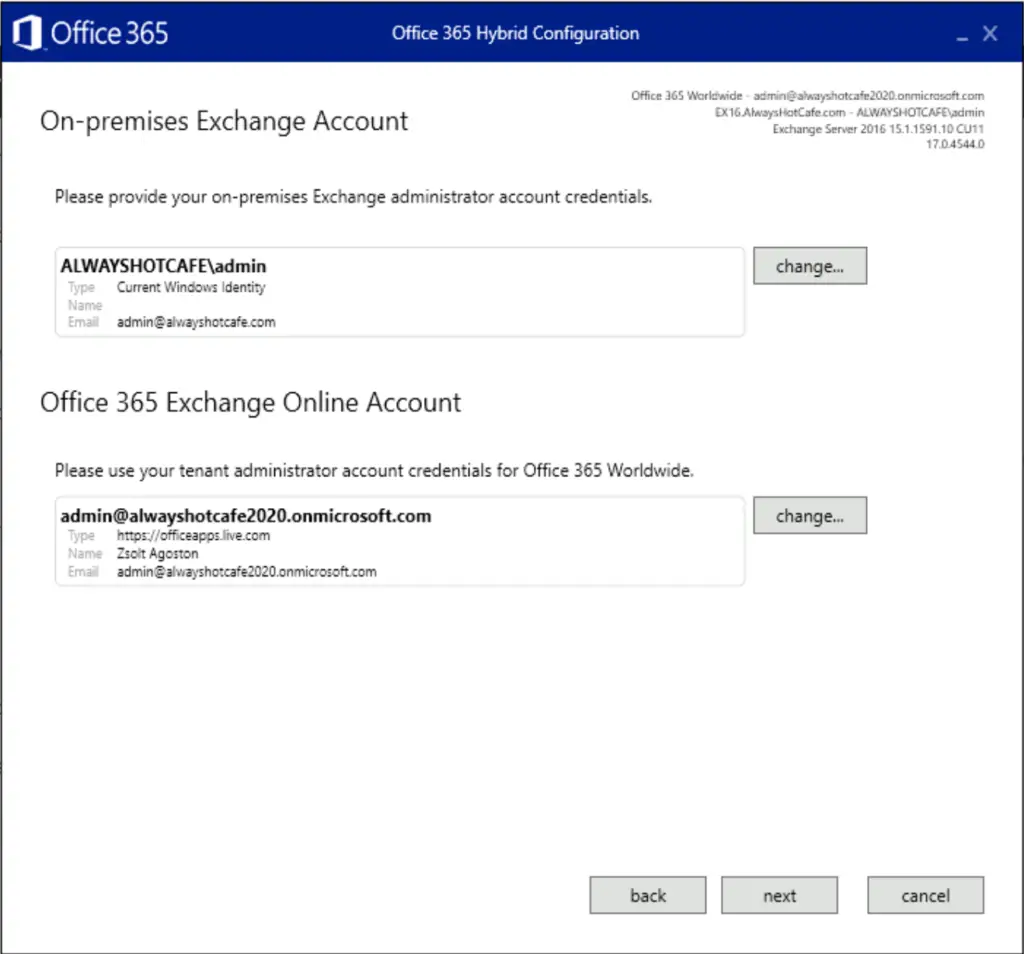
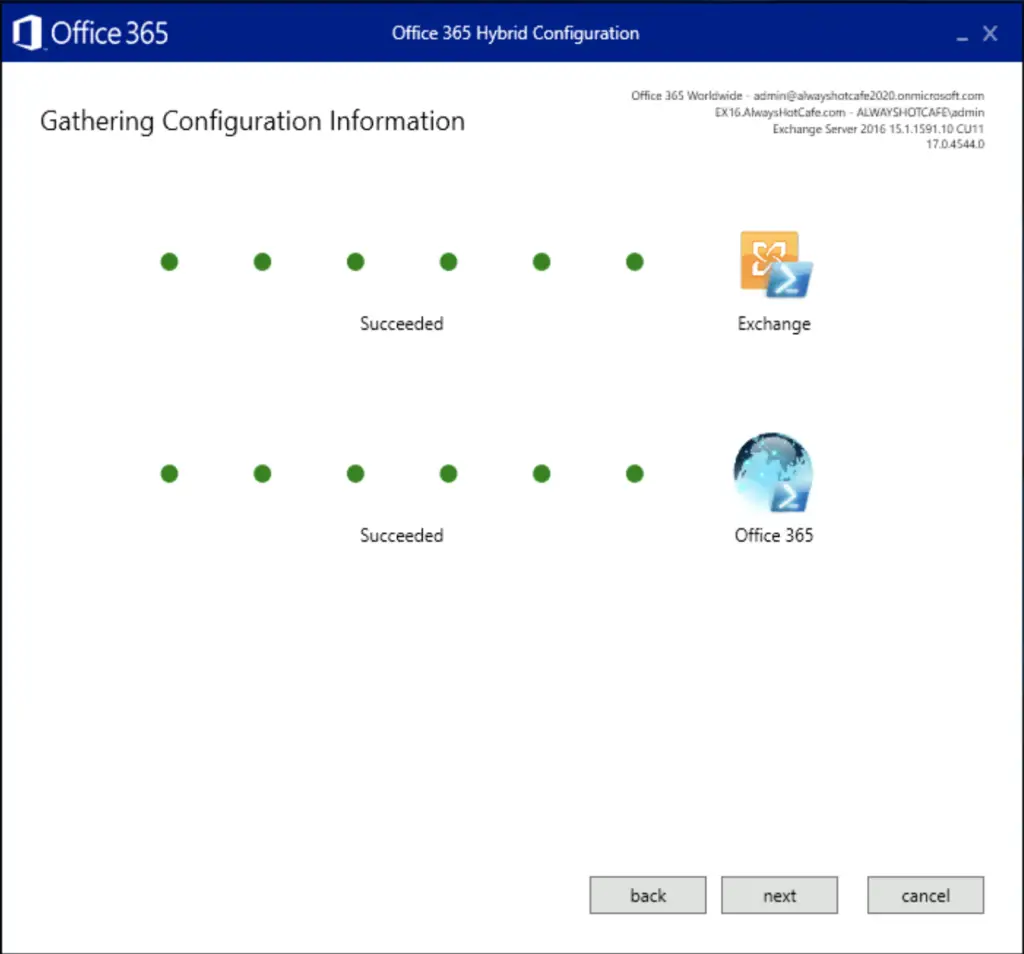
Make sure checks succeed on both sides.
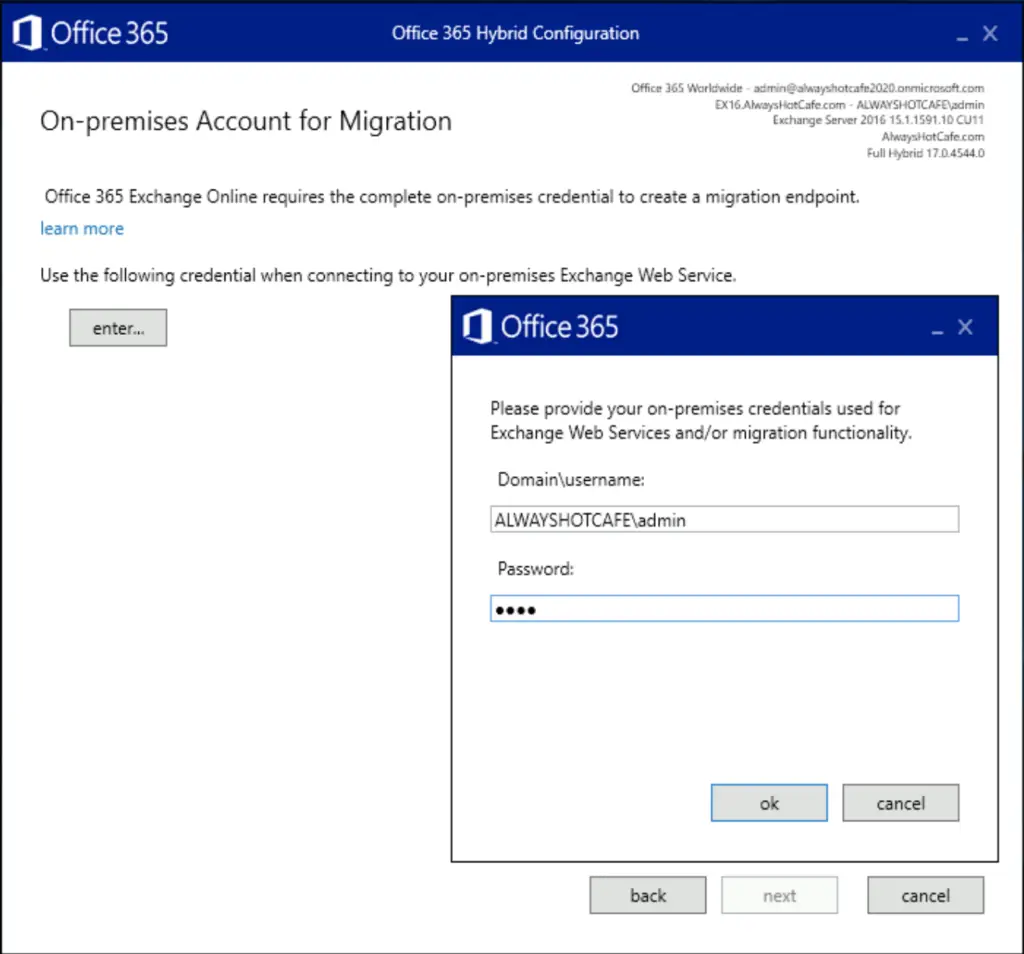
Next, we provide our on-prem admin credentials, this time only for one-time use, for the EWS endpoints to be created.
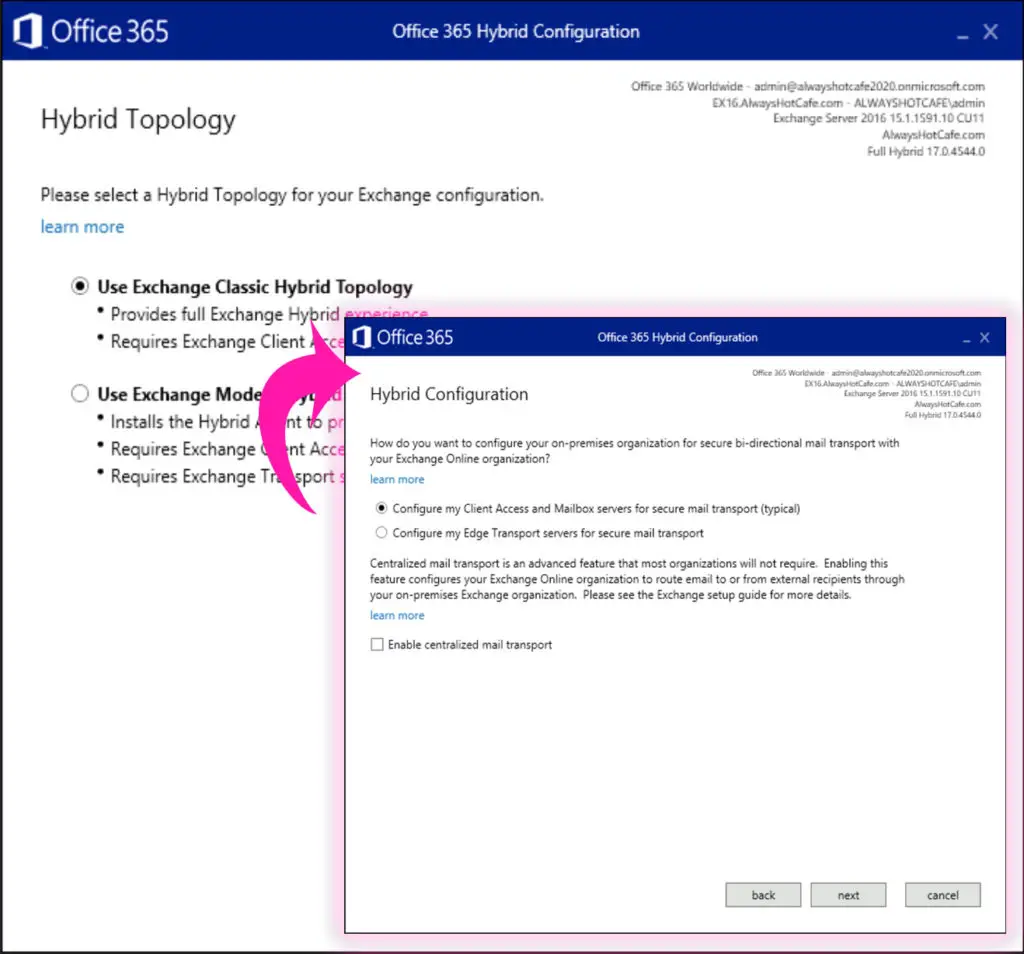
We use the Classic Hybrid topology.
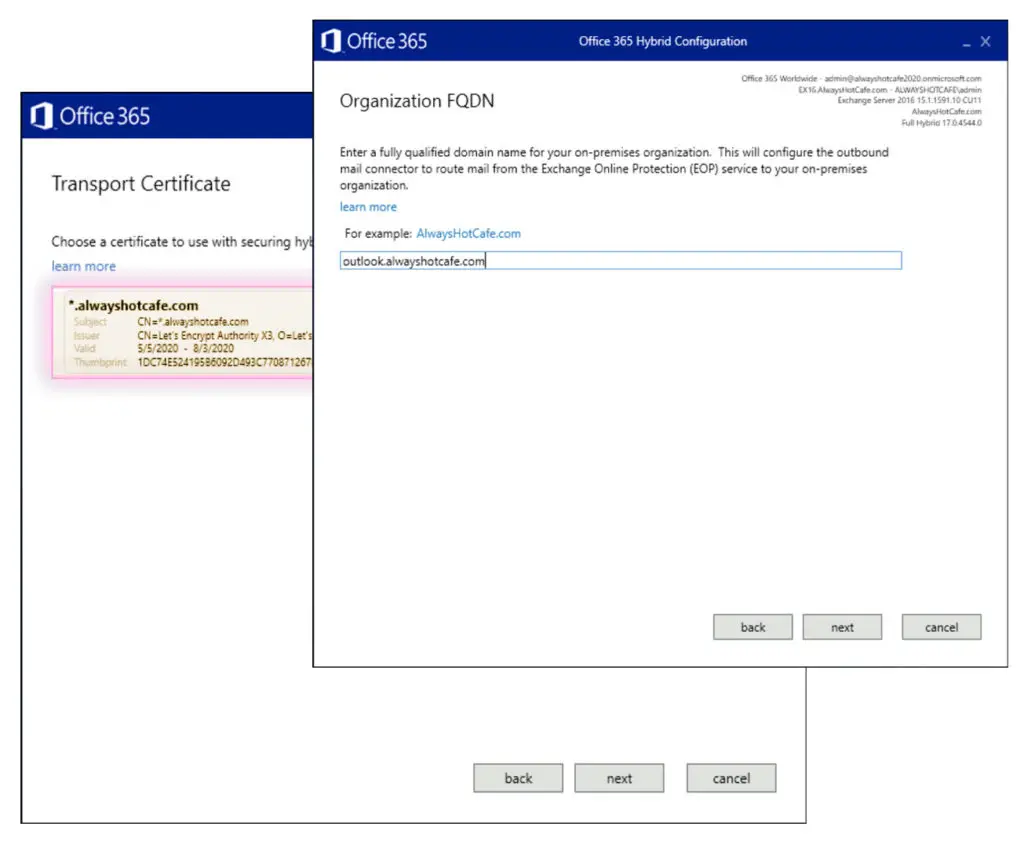
Our Exchange 2016 server is selected as both send receive connectors

The certificate is our wildcard SSL but if you have a multi-SAN SSL set up for the IIS service, use that here. Also, the FQDN of the endpoint is our external EWS FQDN: outlook.alwayshotcafe.com.
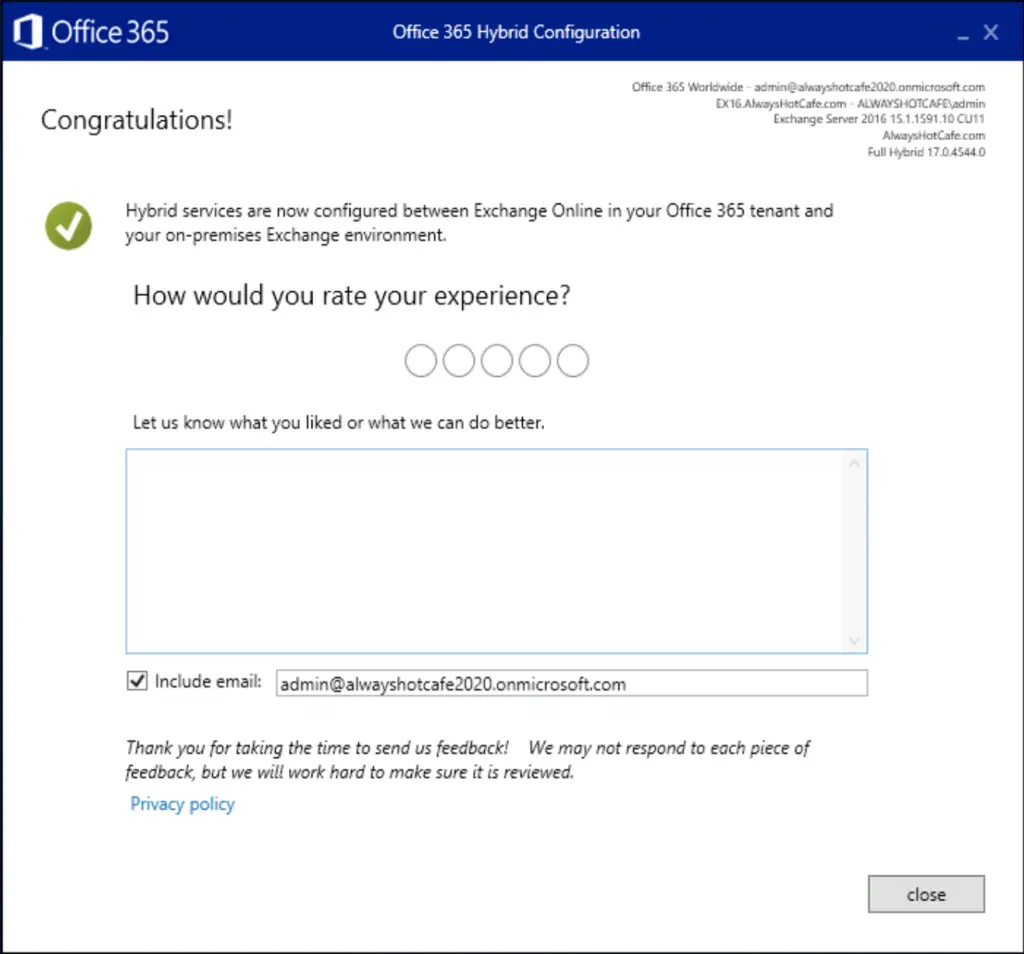
Confirm the settings in the next steps and the wizard finishes the rest for us.
6. Enable the MRS Endpoint on-prem
Before we begin with the actual mailbox migration, we make sure that the "MRS Endpoint" in the EWS virtual directory is enabled on the server that will be connected to the cloud servers.
Enable MRS Proxy Endpoint in EWS virtual directory
PS C:\> Get-WebServicesVirtualDirectory | Set-WebServicesVirtualDirectory -MRSProxyEnabled:$true
7. Create Migration Endpoint in EOL
This step is automatically done by the AD Sync Connection Wizard. The endpoint for the on-prem server is created under the name: "Hybrid Migration Endpoint - EWS (Default Web Site)"
8. Create Migration Batches
We have 209 mailboxes in the AlwaysHotCafe.com mail servers, so we create two migration batches to make the process more resilient and possibly faster.
B1.csv and b2.csv will contain the mailboxes to move, in a format as shown here:
TIP: The following command is used to export the list of email addresses in the organization (just don't forget to rename the "UserPrincipalName" to "Emailaddress" in the first line of the csv file:
PS C:\temp> get-mailbox | Select userprincipalname | Export-Csv b1.csv -NoTypeInformation
In EOL also issue the following commands to create the batches:
PS C:\temp> New-MigrationBatch -Name "B1" -SourceEndpoint "Hybrid Migration Endpoint - EWS (Default Web Site)" -CSVData ([System.IO.File]::ReadAllBytes("C:\temp\b1.csv")) -BadItemLimit 100 -LargeItemLimit 100 -TargetDeliveryDomain alwayshotcafe2020.onmicrosoft.com

Identity Status  Type               TotalCount
-------- ------  ----               ----------
B1       Stopped ExchangeRemoteMove 100


PS C:\temp> New-MigrationBatch -Name "B2" -SourceEndpoint "Hybrid Migration Endpoint - EWS (Default Web Site)" -CSVData ([System.IO.File]::ReadAllBytes("C:\temp\b2.csv")) -BadItemLimit 100 -LargeItemLimit 100 -TargetDeliveryDomain alwayshotcafe2020.onmicrosoft.com

Identity Status  Type               TotalCount
-------- ------  ----               ----------
B2       Stopped ExchangeRemoteMove 109
And starting the batches:
PS C:\> "B1","B2" | Start-MigrationBatch
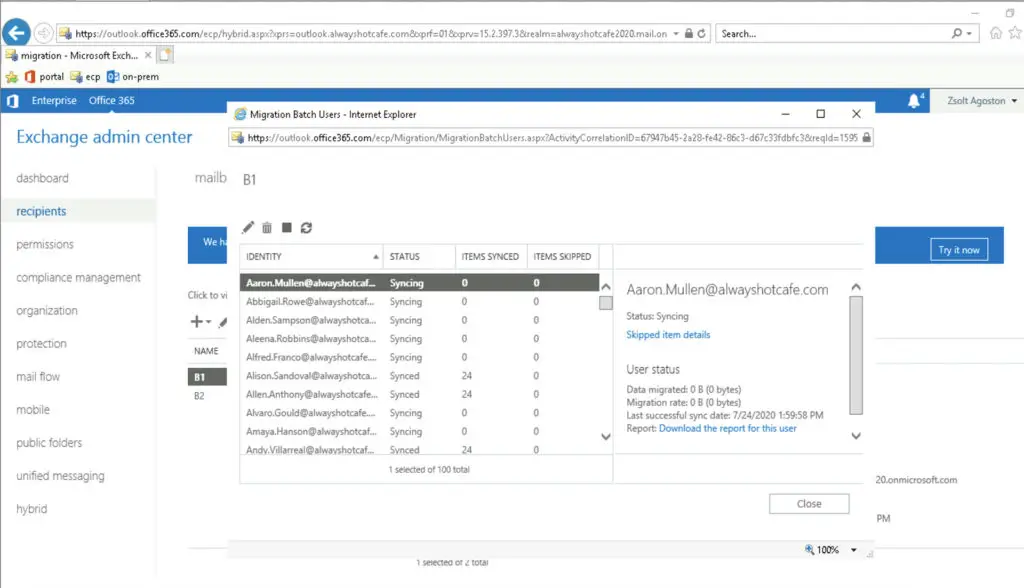
Lastly completing the migration batches when they finished syncing
PS C:\> "B1","B2" | Complete-MigrationBatch -Confirm:$false
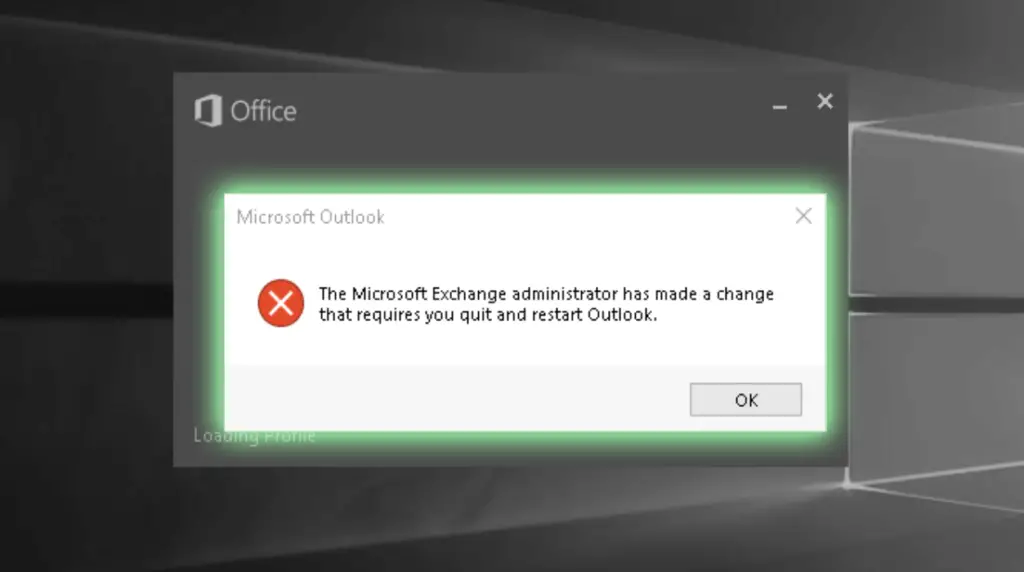
9. Verify user access
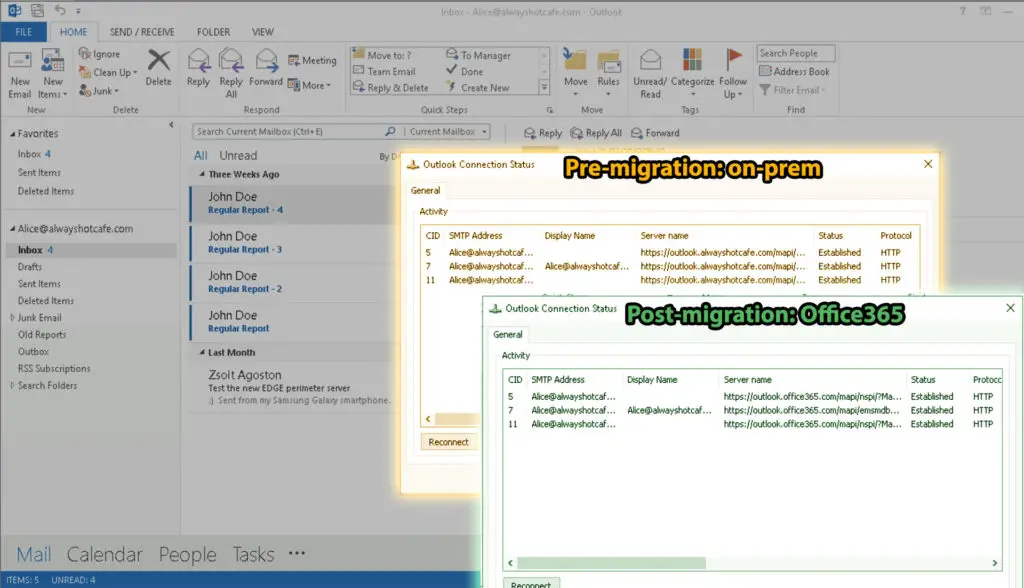
After the successful migration our test user, Alice receives a message in Outlook that the admin has made changes to her mailbox and asks her to re-open Outlook. The same message appears either if she was logged in during the migration process, or next time she logs in if she was offline when the switching to cloud happened.
Comments