Below is a quick summary on how to create and administer volume groups and volumes in LVM.
1. Create LVM volume from start to finish
Starting scenario: we have two new disks added to our system
In the following steps we configure them to be a part of LVM and go through the steps to finally have a volume that spans through the disks and which is then mounted in our filesystem.
Add disks to LVM
# If you have only one disk, add only that to LVM
pvcreate /dev/sdb /dev/sdc
Verify that they have been added:

Create LV
Create a logical volume in the new volume group. We can specify a specific size for it, like 2G. Alternatively we can use the whole available space in the volume group. In this example we go with the latter
# Create a new volume
# Switches:
# -n: name
# -L: size in bytes
# -l: size in extents (the smallest data unit the PV handles. By default, it is 4MiB)

# Create a volume with 1G size
lvcreate -n vol01 -L 1G vg01

# Create a volume that uses all the available space
lvcreate -n vol01 -l +100%FREE vg01
Check the new volume is present:

2. Add the new volume to the filesystem
Create filesystem on the volume
mkfs.ext4 /dev/vg01/vol01
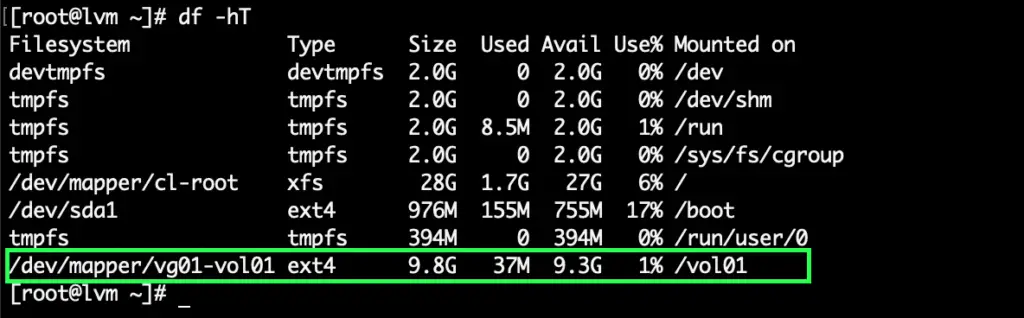
Mount the volume in the root filesystem
As the finishing step we create a directory in the root filesystem and mount the new volume there.
# Create the directory where we mount the volume
mkdir /vol01

# Mount vol01
mount /dev/vg01/vol01 /vol01
3. Add extra disk to a VG and expand an LV
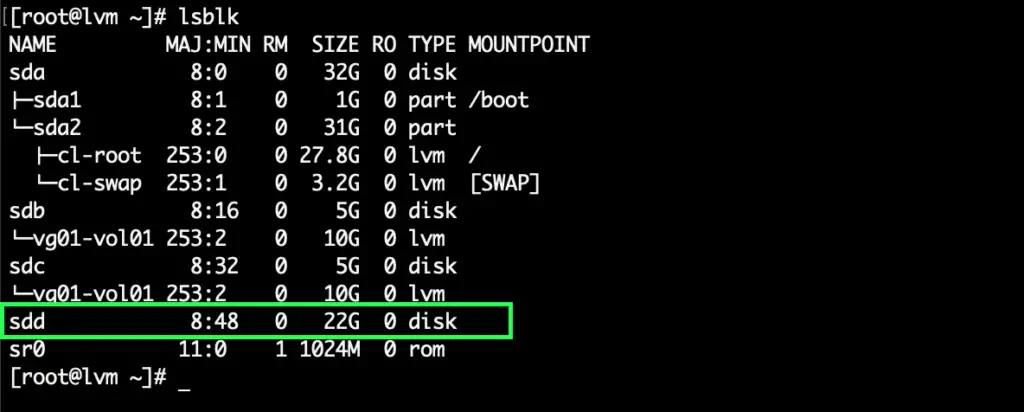
A new disk is added to the system, called /dev/sdd. First we add it to LVM, then to our existing volume group. Then we'll expand our logical volume easily.
Adding a disk to the existing "vg01" VG
# Add /dev/sdd to LVM
pvcreate /dev/sdd

# Add /dev/sdd to vg01
vgextend vg01 /dev/sdd

Expand existing LV
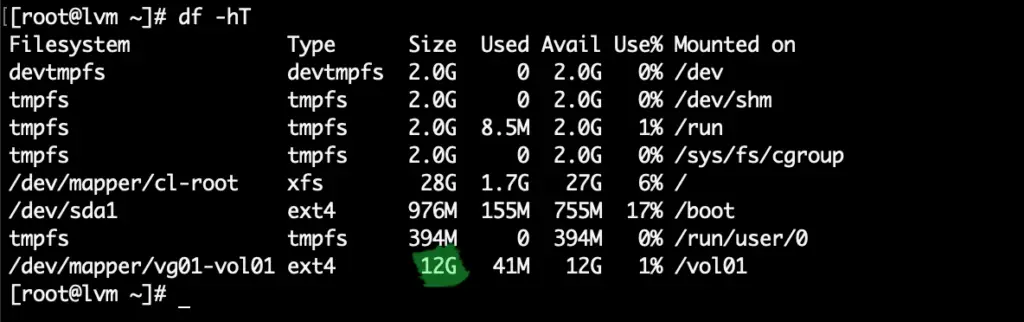
Now extend the existing volume by 2G. The command below also automatically expands the filesystem on the volume
lvextend -L +2G --resizefs /dev/vg01/vol01
We're done!
Comments