Our local diner, AlwaysHot Café hired us to build a mail server. They have a small network that consists of a switch and a firewall with a single static public IP. After discussing our options we decided to go with Microsoft Exchange, as it integrates very well with their existing small business domain controller. We could use the domain controller to host our Exchange installation, but if security is an important factor we better separate them, keeping the authority of Exchange (or more precisely the Trusted Exchange Subsystem) as low as possible. A local admin on a domain controller would become a domain admin which we try to avoid.
Before We Begin
The operating system we use on the boxes is Microsoft Windows 2019, the domain in running on 2016 forest and domain functional levels. The mail server is Microsoft Exchange 2019. As a starting point we configure the DC, and join the soon-to-be mail server to the domain.
1. Install Prerequisites
We need three things to be installed before we start:
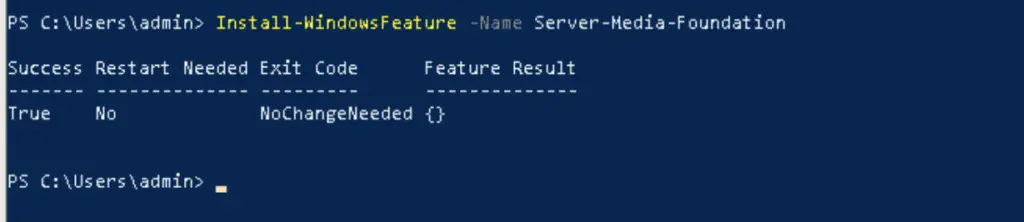
- "Media Foundation" feature in Windows
- Microsoft Unified Communications API 4.0
- Visual C++ 2013 Redistributable
We install media foundation with a quick powershell command
Download and install the other two from the official locations:
2. Install MS Exchange 2019
For simplicity we use the GUI installer by simply starting the Setup.exe on the installer disc. The setup will prepare the schema and AD for us during the setup.

On the first screen we choose the "Don't check for updates" option to speed up the installation process. We and planning to update the server afterwards anyway.

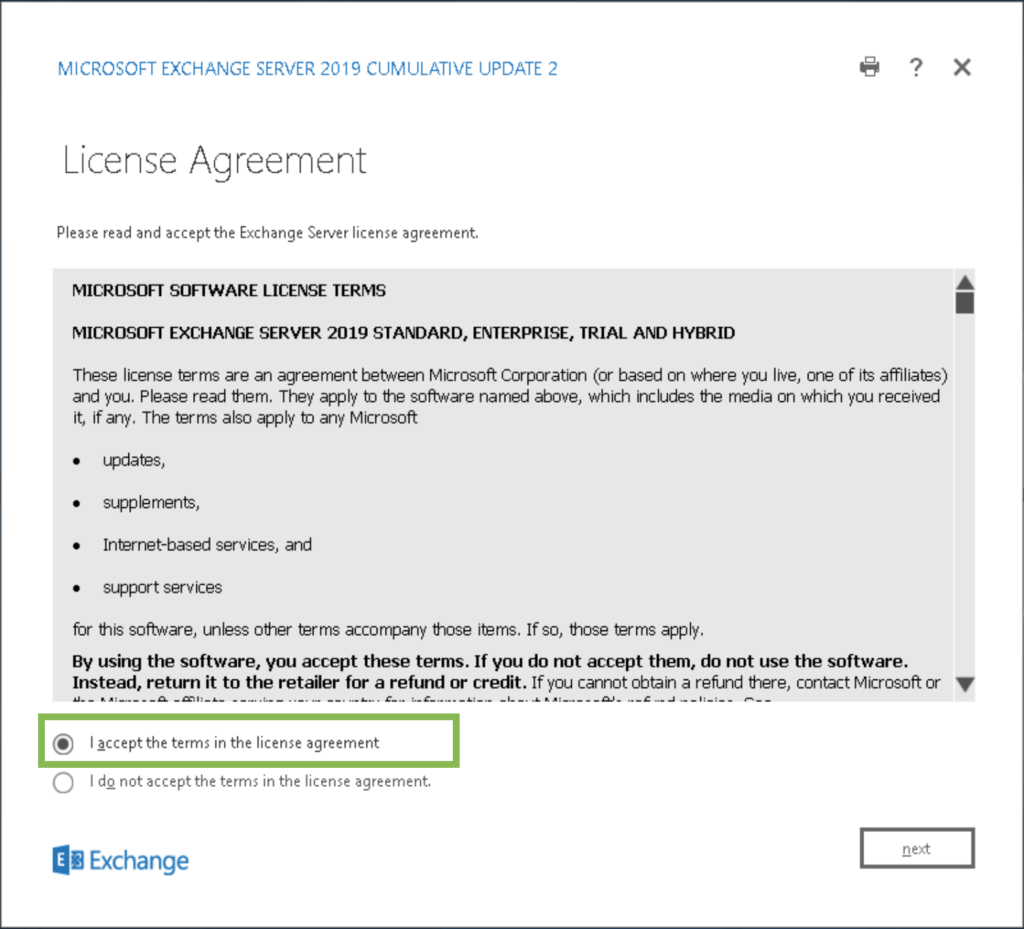
Going through the following screens we accept the Introduction, and the license agreement.
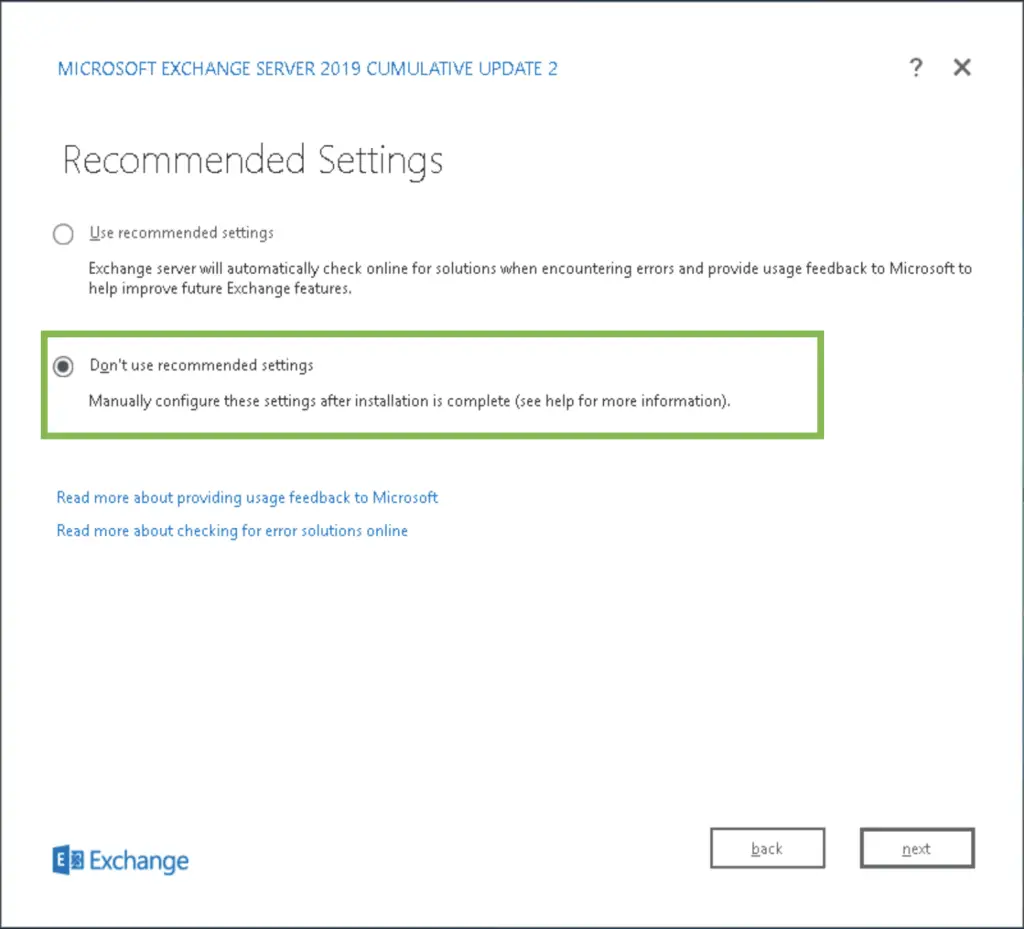
Now listen, it's important: You should never go with the recommended settings!
If there's an option to use custom settings, you always want to go with that. The more granular we can be with any kind of configuration, the better 🙂
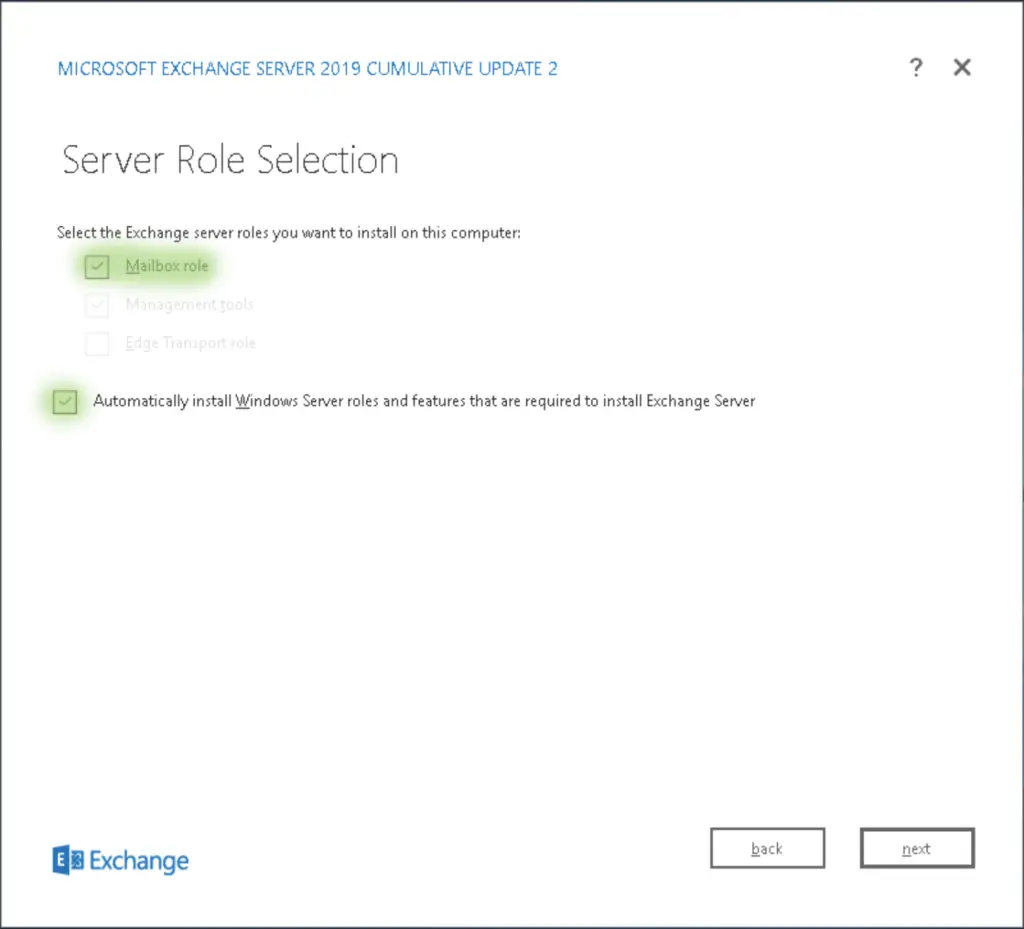
An Exchange 2019 server can have two roles: it either can be a Mailbox server, or an Edge Transport server, never both. A Mailbox server is a regular email server, it stores emails in one or more mailbox databases, sends and receives messages and it has the full client access array, so clients can connect to their mailboxes: MAPI for Outlook client apps, ActiveSync for mobile devices, IMAP, POP3 for virtually any client as those protocols are industry standards.
The Edge Transport role is a special role. If we want a perimeter server, which serves as the single internet-facing server in the organization, which sole purpose is receiving and sending messages, filter them for malware, etc - in other words for tighter security - we use the Edge role. It is so focused on security, an Edge server is not even a member of the domain, it's always deployed as a standalone workstation. We'll dive deeper in that topic in another article.
This time, we go with the Mailbox role
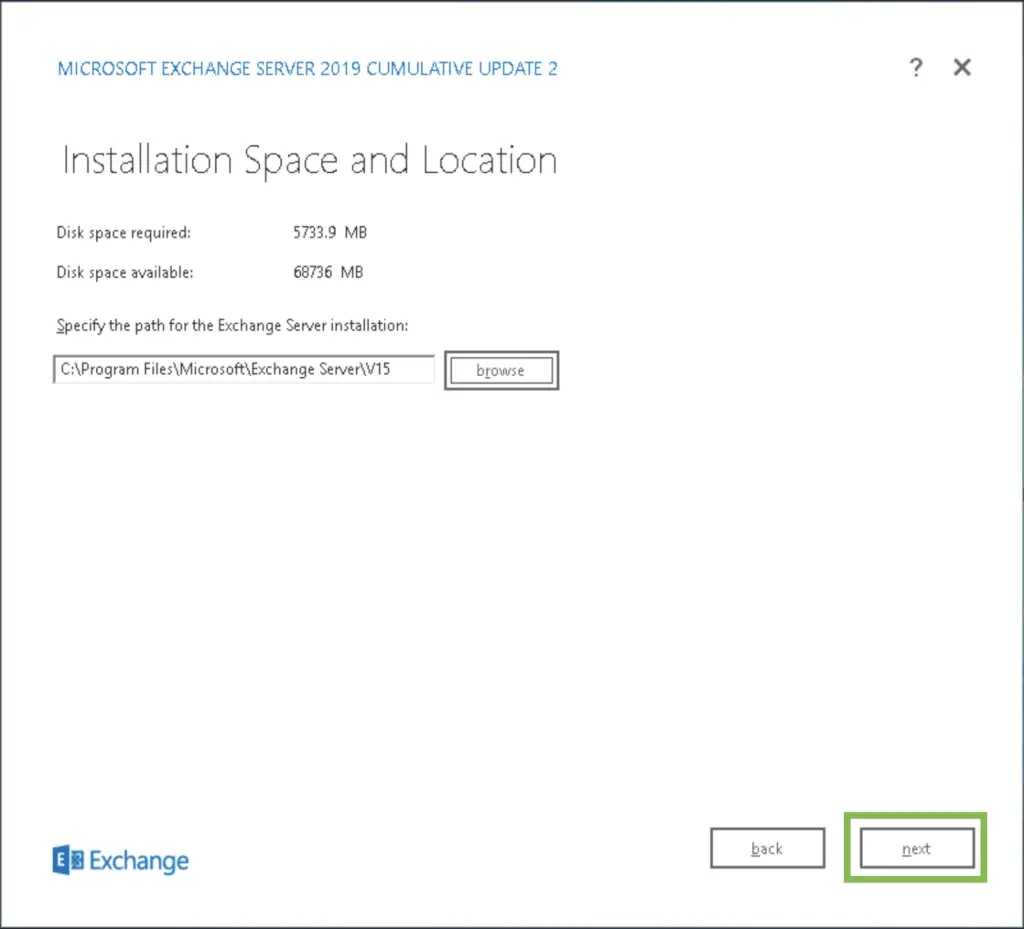
Leave the default folder location for the Exchange files. Note that this is the default location for all the Exchange executable files, databases and scripts too.
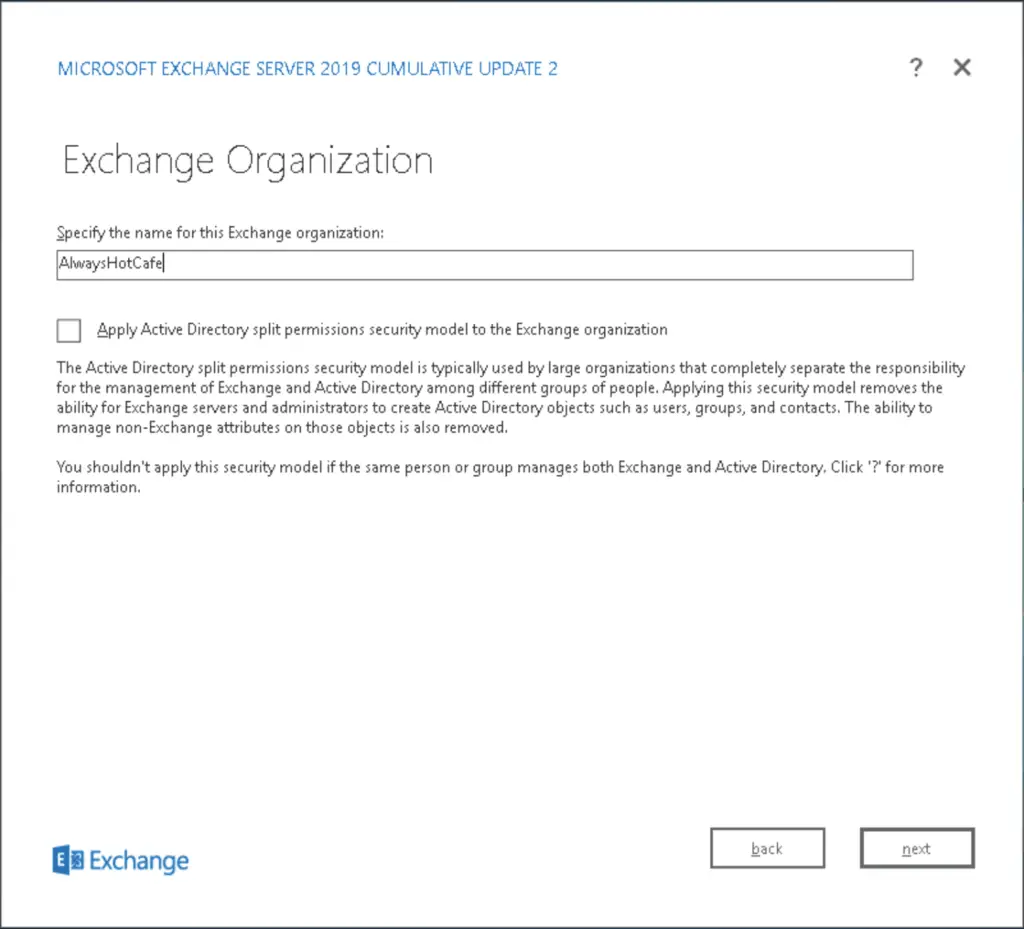
Next, the organization name is needed to to be set. We use our NetBIOS name for simplicity. At this point we need to speak a few words about AD split permissions. Normally we go without checking this box. If we are in a very locked down environment, where only certain people should do certain tasks, Split Permissions is the right choice as it restricts Exchange in a fundamental way. All the Exchange servers and admins will be blocked to carry out any changes in AD (except for changing a few Exchange-related attributes).
For instance, when a mailbox is created a user account is created in AD first. Then a mailbox can be linked to it afterwards. When split permissions are in place, Exchange won't be able to create the user in AD. An AD admin is needed to create the user first, then the Exchange admin will mail-enable the user afterwards.
We go without split permissions.
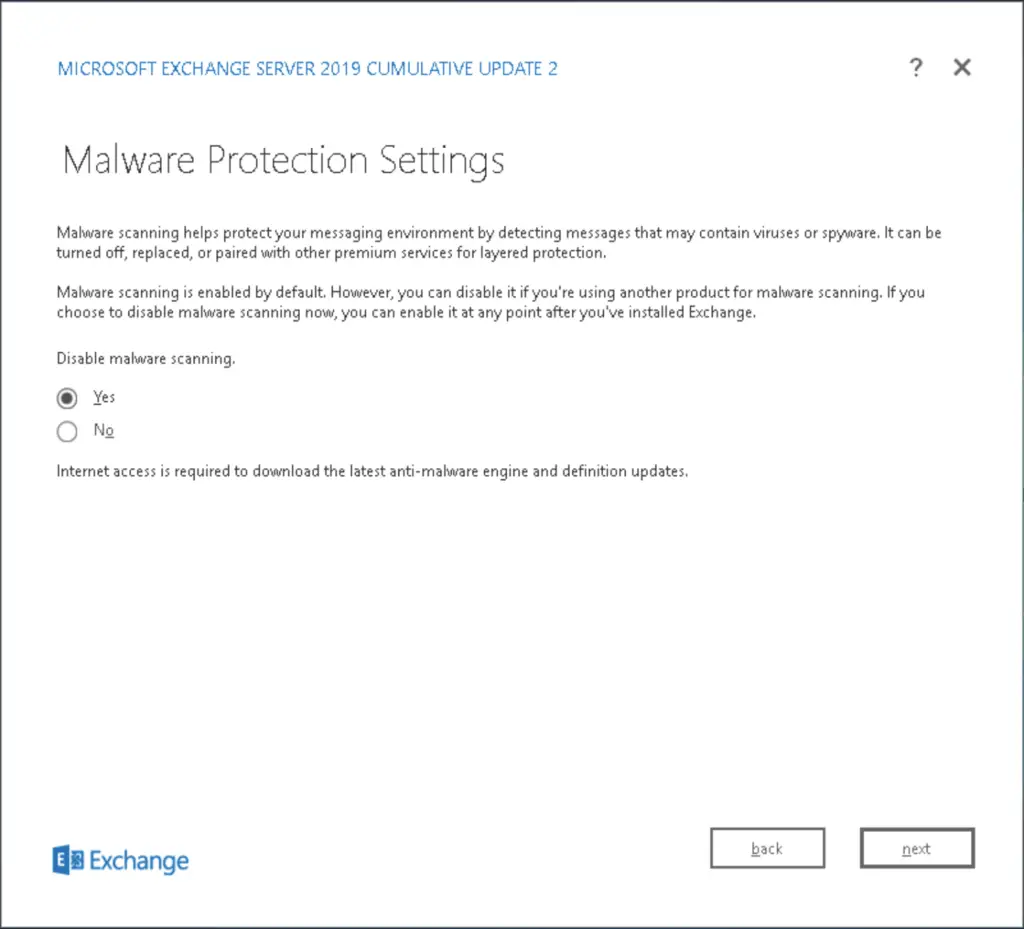
As it is a lab, we disable malware scanning as it would use extra resources on the mailbox server which we will avoid here, in a live environment we make sure that malware filtering is on.

After the readiness check we hit Install
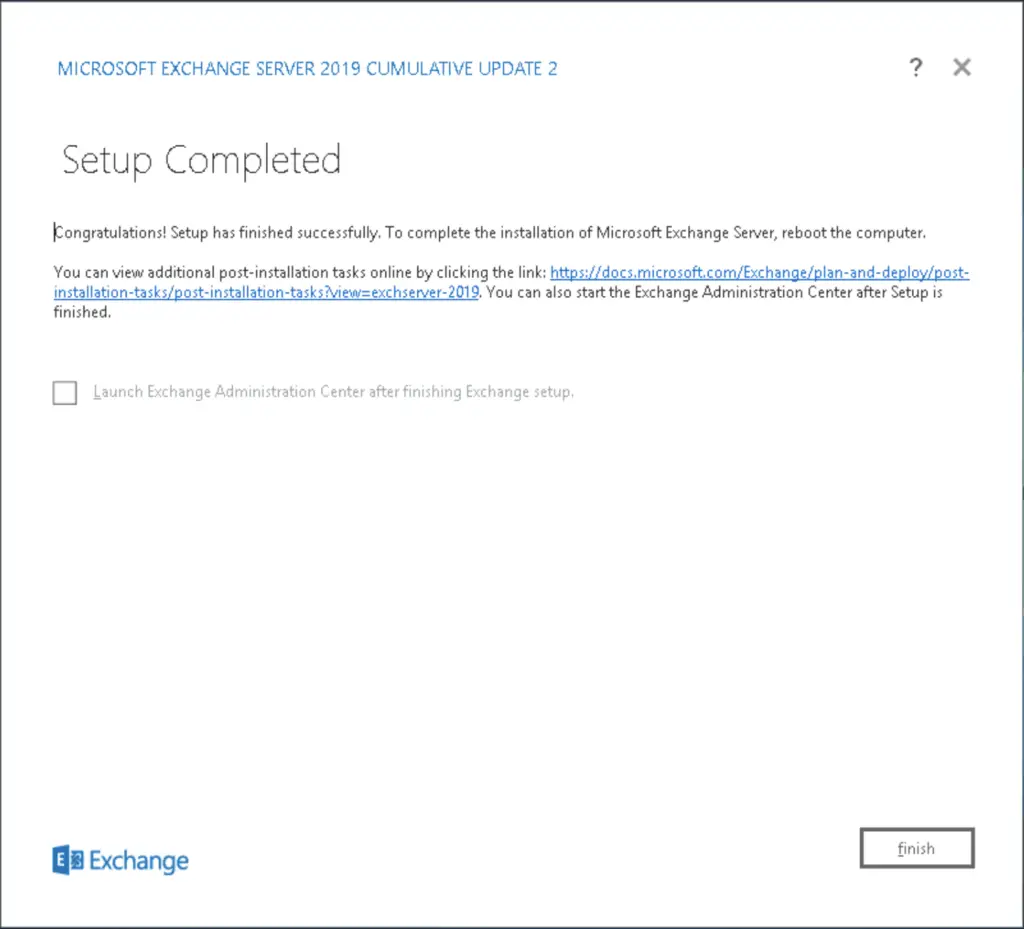
When the installation is done, simply exit the installer
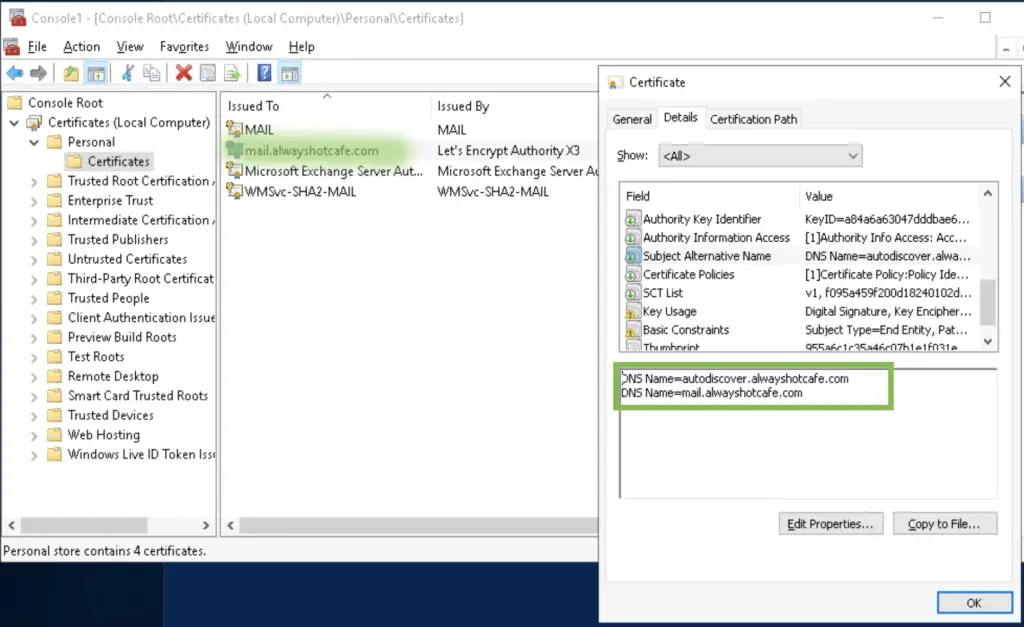
3. Install multi-SAN SSL certificate
A Mailbox server needs a publicly trusted SSL certificate with at least the following subject alternative names included:
mail.alwayshotcafe.com: in our case it the mailserver's address. It's used both for SMTP mail traffic, and by clients to access their mailboxes
autodiscover.alwayshotcafe.com: AUTODISCOVER needs to point to a mail server that has the Autodiscover information file. Any mailbox server will do the job, as we have one, we set up a CNAME record to point to mail.alwayshotcafe.com. Autodiscover is a nice feature for users to configure their mailboxes on their devices easily, as they only need to type in their email address and passwords. All other info, like the server address is retrieved automatically from the webserver.
The clients are searching for a specific file, called an Autodiscover.xml that contains all the information the clients need. The location of the file on the mailbox server is hardcoded, the clients will search the locations in the following order:
- SCP record: inside the domain, this record specifies the location of the Autodiscover.xml file
- https://alwayshotcafe.com/autodiscover/autodiscover.xml: by design this is the next location that is queried if the SCP lookup doesn’t work. This will likely fail as the root domain usually assigned to the domain's website.
- https://autodiscover.alwayshotcafe.com/autodiscover/autodiscover.xml: externally 99% of the time this address will be used for client configuration.
We go ahead and get a Let's Encrypt certificate as detailed here, note that we use the following command to include both SANs in the one certificate:
Now we set this up as the active Exchange certificate.
#Import the Exchange cmdlets
PS C:\> Add-PSSnapin microsoft.exchange.management.powershell.snapin
#Get the thumbprint of the new certificate
PS C:\> Get-ExchangeCertificate
Thumbprint Services Subject
---------- -------- -------
955A6C1C35A46C07B1E1F031E60B6B2D38E1941A ....... CN=mail.alwayshotcafe.com
...
...
# Enable the new cert
PS C:\> Enable-ExchangeCertificate -Thumbprint 955A6C1C35A46C07B1E1F031E60B6B2D38E1941A -Services iis,smtp,imap,pop
# Verify that the cert is active
PS C:\> Get-ExchangeCertificate
Thumbprint Services Subject
---------- -------- -------
955A6C1C35A46C07B1E1F031E60B6B2D38E1941A IP.WS.. CN=mail.alwayshotcafe.com
4. Setting up the Default Send Connector
As on-prem Exchange servers don't have any send connectors configured after the installation is completed, we need to set one up in order to be able to send emails externally.
Browse to https://mail.alwayshotcafe.com/ecp to access the WebUI of the new server.
Under "Mail Flow/Send Connectors" use the "+" sign to create the connector
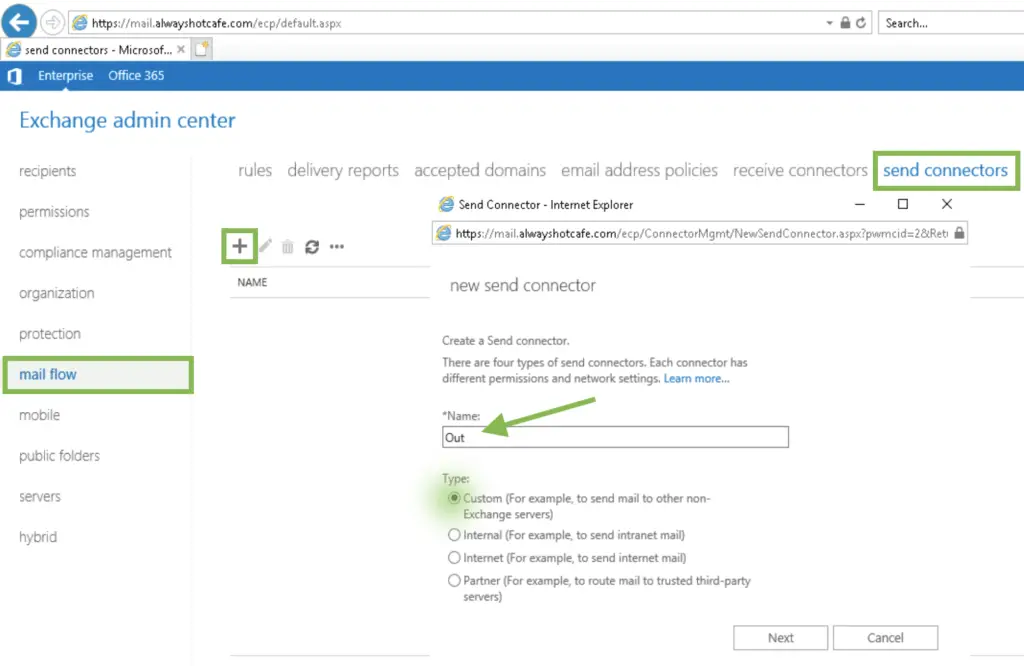
We name the new connector "Out", and go with the "custom" type so we can be as granular as possible.

We don't have a smarthost that relays our email, so we go with the regular MX lookup. This case recipients will see the actual public address of our server, so make sure an SPF record is set up. This helps our messages to get through their spam filter. Details HERE.
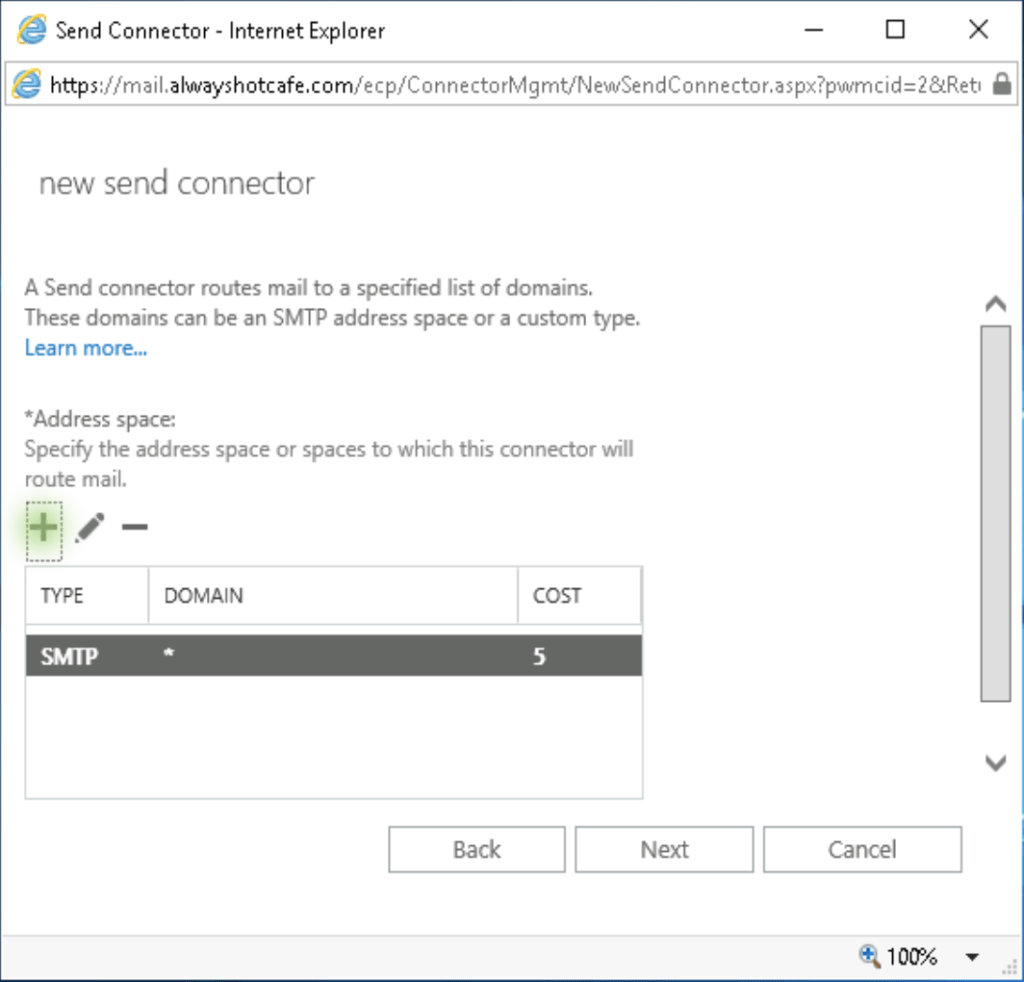
As this is the default connector, we add the scope "*" to it, and assigning cost 5.

We add our only server to the connector. If we had more, we could specify which one could use it to send emails externally. Remember, internal emails don't need any send connectors to be set, as email transmission happens internally. The connectors are only for egress SMTP traffic.
5. Add Public DNS records
We add the following DNS records to our public DNS zone file:
| type | record | value |
| A | [our public IP] | |
| MX | @ | mail.alwayshotcafe.com |
| CNAME | autodiscover | [our public IP] |
| TXT | @ | v=spf1 ip4:[our public IP] ~all" |
6. Add Users to the system
We create a user called John Doe:
PS C:\> New-Mailbox -Name "John Doe" -DisplayName "John Doe" -FirstName "John" -LastName "Doe" -SamAccountName jdoe -UserPrincipalName jdoe@alwayshotcafe.com -PrimarySmtpAddress John.Doe@alwayshotcafe.com
cmdlet New-Mailbox at command pipeline position 1
Supply values for the following parameters:
Password: *****************
Name Alias ServerName ProhibitSendQuota
---- ----- ---------- -----------------
John Doe jdoe mail Unlimited
7. Test Mailflow
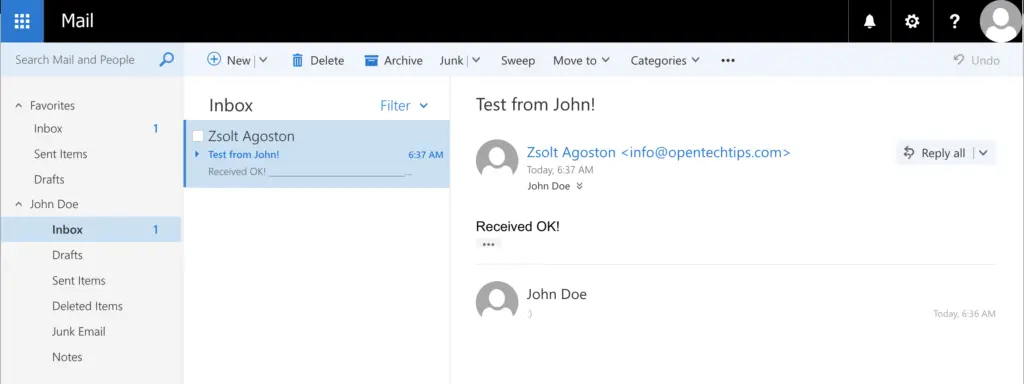
Email messages to and from my email address successfully arrive!
Hope this guide was helpful, let me know in the comments below if something needs to be added 🙂
Comments