It this article we'll create basic, single site Exchange 2019 DAG (Database Availability Group). We already installed two mailbox servers with the same specifications (detailed here).
Each of them has a single database configured already, MAIL has DB01 and MAIL2 has DB02.
To create the DAG we also need a witness server that will be the tie-breaker in a failover situation. The witness is a regular file server, with simply a dedicated shared directory that all members can access.
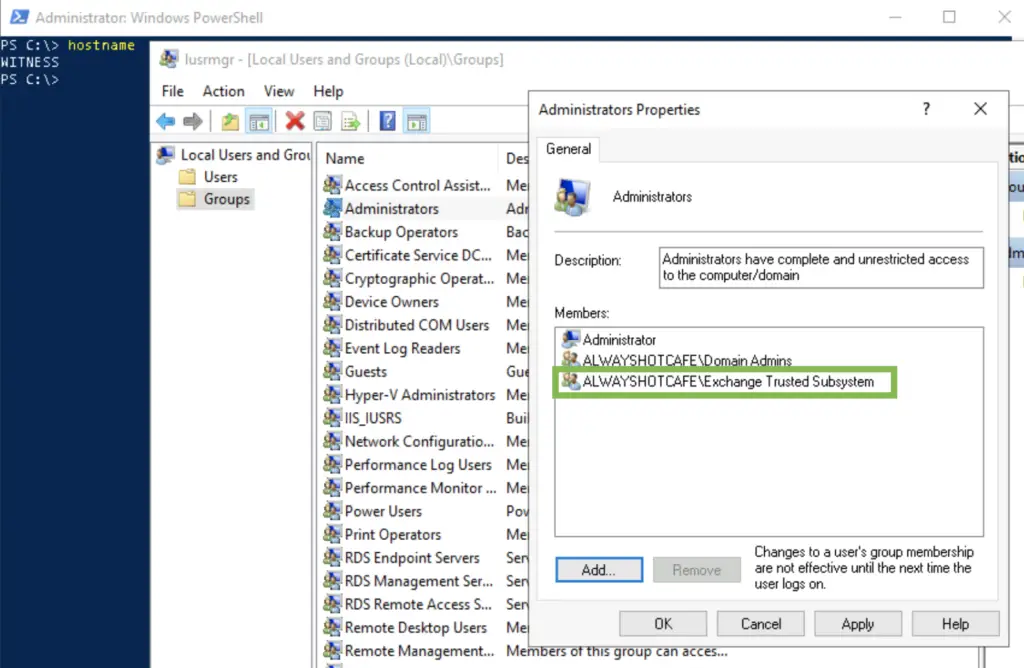
1. Add the Exchange Trusted Subsystem to the local admin group on the witness server
First we need to make sure the Exchange servers will have read-write access on the witness server. To achieve that, we add the "Exchange Trusted Subsystem" domain group to the local admin group on the witness.
1.5 Install the File Server role on the witness server
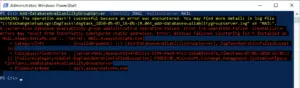
Make sure the File Server role is installed on the witness, otherwise you'll receive the following error message after creating the DAG
PS C:\> Install-WindowsFeature FS-FileServer

2. Create the DAG
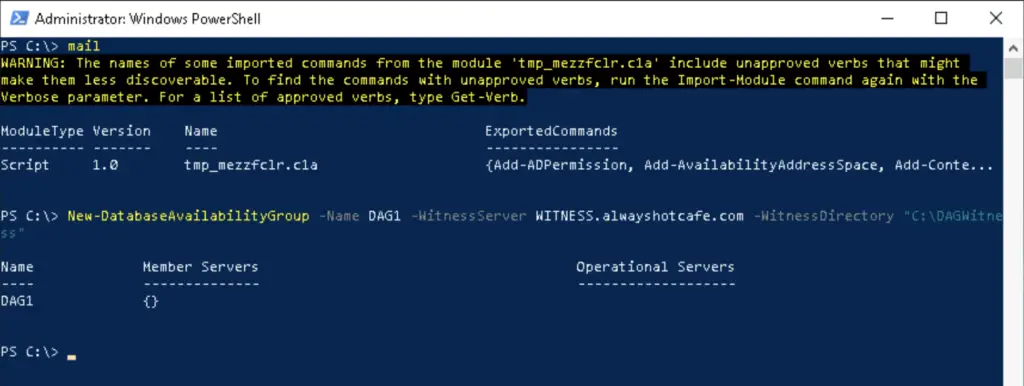
To create the database availability group, we connect to one of the Exchange servers (guide here), and issue the following command. We specify the DAG name, the witness server and the directory on the witness server that will contain the file share witness data files.
PS C:\> New-DatabaseAvailabilityGroup -Name DAG1 -WitnessServer WITNESS.alwayshotcafe.com -WitnessDirectory "C:\DAGWitness"
2.5 Set DAC on the DAG
DAC stands for Datacenter Activation Coordination, it is to prevent split-brain situation to occur. Generally it's a good idea to have it enabled on DAGs by default.
PS C:\> Set-DatabaseAvailabilityGroup -Identity DAG1 -DatacenterActivationMode DagOnly
3. Add the mailbox servers to the DAG
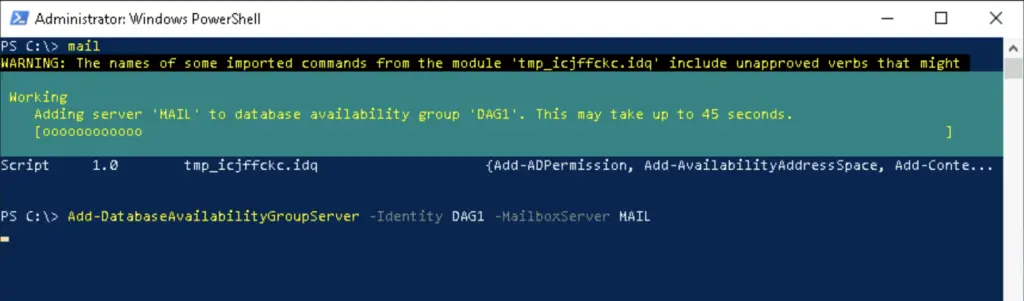
To add the member servers to the DAG we issue the following commands in the same PS window:
PS C:\> Add-DatabaseAvailabilityGroupServer -Identity DAG1 -MailboxServer MAIL
PS C:\> Add-DatabaseAvailabilityGroupServer -Identity DAG1 -MailboxServer MAIL2
4. Add database copies to the mailbox server
At this point we have a working DAG, with all member servers hosting their only databases. The whole purpose of the DAG is to have passive copies of the databases on the other server, so if one box goes down, both the databases stay available.
MAIL has DB01, MAIL2 hosts DB02. We add a passive copy of their databases to the other server: a copy of DB02 to MAIL and DB01 to MAIL2
PS C:\> Add-MailboxDatabaseCopy -Identity DB01 -MailboxServer MAIL2
PS C:\> Add-MailboxDatabaseCopy -Identity DB02 -MailboxServer MAIL

5. Aftermath
After the DAG is created we can verify it's functional
PS C:\> Get-DatabaseAvailabilityGroup DAG1

Name             Member Servers                                      Operational Servers
----             --------------                                      -------------------
DAG1             {MAIL2, MAIL}
PS C:\> Get-MailboxDatabaseCopyStatus -Server MAIL | ft -AutoSize

Name      Status  CopyQueueLength ReplayQueueLength LastInspectedLogTime ContentIndexState
----      ------  --------------- ----------------- -------------------- -----------------
DB01\MAIL Mounted 0               0                                      NotApplicable
DB02\MAIL Healthy 0               0                 07/05/2020 17:31:02  NotApplicable


PS C:\> Get-MailboxDatabaseCopyStatus -Server MAIL2 | ft -AutoSize

Name       Status  CopyQueueLength ReplayQueueLength LastInspectedLogTime ContentIndexState
----       ------  --------------- ----------------- -------------------- -----------------
DB02\MAIL2 Mounted 0               0                                      NotApplicable
DB01\MAIL2 Healthy 0               0                 07/05/2020 17:46:38  NotApplicable
On the witness the witness directory is populated as expected

Comments