On the web there are very few articles detailing how to rebuild an Exchange mailbox server if it dies and we need to make the mailboxes available for users as soon as possible.
In this scenario we assume we have a proper, full backup of the whole server, but because of the huge databases it would take a very long time to restore it's operational state.
Solution: the best option is to rebuild a server from scratch with the same name, and create temporary databases to host user mailboxes while the original databases are being restored from the backup.
Then we can switch over to the old mailbox databases and merge the temporary database contents into them.
Our lab setup
- DC.alwayshotcafe.com: our Server 2016 domain controller
- MB01.alwayshotcafe.com: the server with one mailbox database that dies
- MB02.alwayshotcafe.com: a second DB server. Not being used in this example
Situation Description
MB01 dies. It would take 24 hours to restore because of the huge databases
Dial Tone Restore Process
1. Reinstall server with the same name, IP address
The first step is reinstalling the faulty server from scratch.
- Assign the exact same name that the original server had to this machine. It's important, becuase the Exchange setup will retrieve the required information from AD base on the name to rebuild the server.
- Assign the same IP address to the server that the old machine had. The important thing here is that the server ideally should be located in the same AD site it was originally a member of.
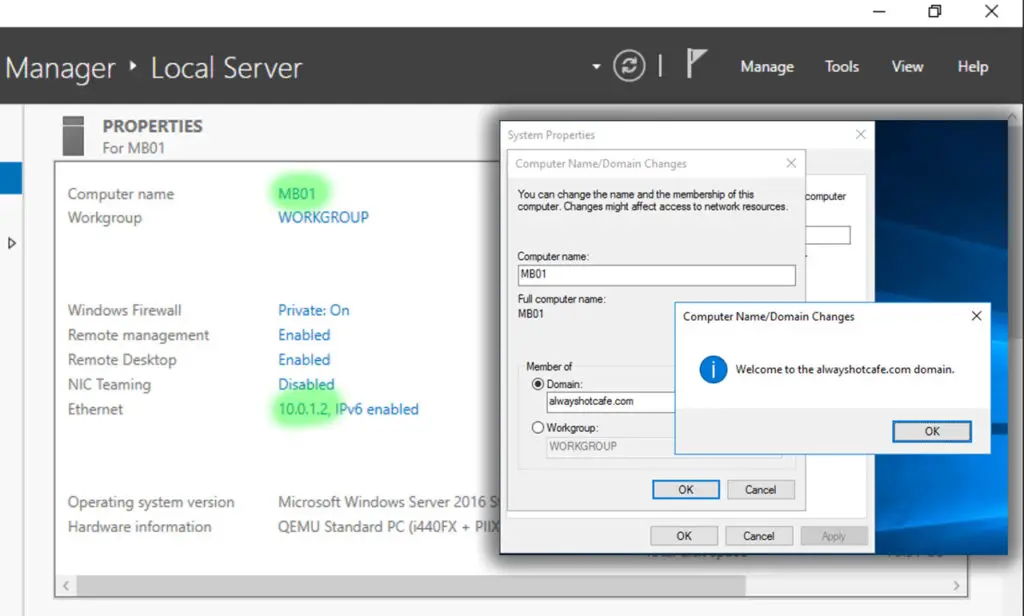
2. Join the server to the domain
The Exchange server needs to be a member of the same domain it was a part of originally before the failure.
3. Install Exchange prerequisites on Server 2016
Use the following command on Windows Server 2016 to install all the prerequisites that the Exchange service will need to operate
# Exchange 2016 feature prerequisites on Windows Server 2016
Install-WindowsFeature Server-Media-Foundation, RPC-over-HTTP-proxy, RSAT-Clustering, RSAT-Clustering-CmdInterface, RSAT-Clustering-Mgmt, RSAT-Clustering-PowerShell, Web-Mgmt-Console, WAS-Process-Model, Web-Asp-Net45, Web-Basic-Auth, Web-Client-Auth, Web-Digest-Auth, Web-Dir-Browsing, Web-Dyn-Compression, Web-Http-Errors, Web-Http-Logging, Web-Http-Redirect, Web-Http-Tracing, Web-ISAPI-Ext, Web-ISAPI-Filter, Web-Lgcy-Mgmt-Console, Web-Metabase, Web-Mgmt-Console, Web-Mgmt-Service, Web-Net-Ext45, Web-Request-Monitor, Web-Server, Web-Stat-Compression, Web-Static-Content, Web-Windows-Auth, Web-WMI, Windows-Identity-Foundation, RSAT-ADDS, NET-WCF-HTTP-Activation45

# Net framework 4.8
https://dotnet.microsoft.com/download/dotnet-framework/net48

# Microsoft Unified Communications Managed API 4.0 Runtime
https://www.microsoft.com/en-us/download/details.aspx?id=34992

# Visual C++ 2013 x64 - 12.0.30501
https://www.microsoft.com/download/details.aspx?id=40784
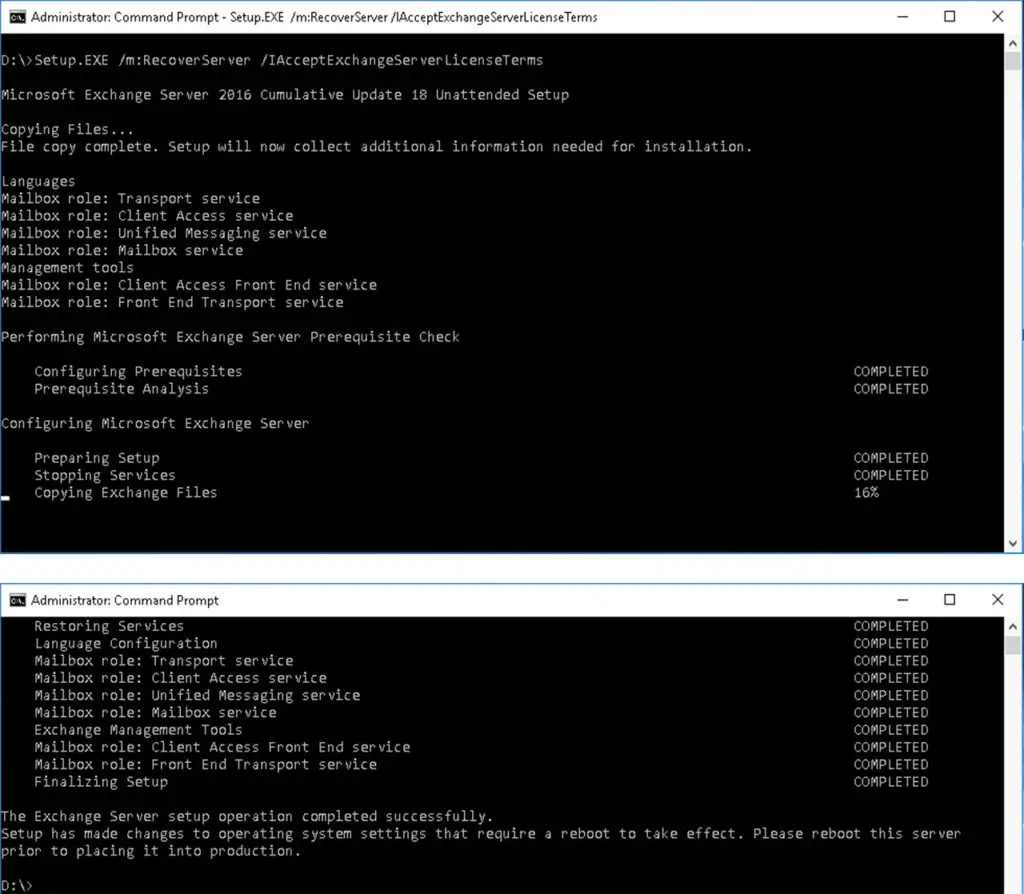
4. Restore the old Exchange server with the Exchange installer.
Open a command line with administrator privileges, navigate to the installer drive and run the setup in RecoverServer mode.
Setup.EXE /m:RecoverServer /IAcceptExchangeServerLicenseTerms
It restores the mailbox server with no mailboxes. Only the original mailbox database paths will be shown. More details on this later.
5. Import and set SSL cert
Recover, or reissue the server certificate the other server had. After importing in on the new server, check the thumbprint with the Get-ExchangeCertificate command and enable all CAS services on it. See our example below
PS C:\> Get-ExchangeCertificate

Thumbprint                                Services   Subject
----------                                --------   -------
CC54467547FAB301D53ECFB33BFD4E320906E4E8  IP.WS..    CN=MB01
9C6D57B77C6942FF4A712D1FC3B7C0D670941421  .......    CN=WMSvc-SHA2-MB01
C2353760C05715878B38B28FA7EB8942B994C3DF  .......    CN=outlook.alwayshotcafe.com
268FC7709D681C94216BB3E525369E787DCEE6D5  ....S..    CN=Microsoft Exchange Server Auth Certificate


PS C:\> Enable-ExchangeCertificate -Thumbprint "C2353760C05715878B38B28FA7EB8942B994C3DF" -Services iis,smtp,imap,pop

Confirm
Overwrite the existing default SMTP certificate?

Current certificate: 'CC54467547FAB301D53ECFB33BFD4E320906E4E8' (expires 05/10/2025 18:11:13)
Replace it with certificate: 'C2353760C05715878B38B28FA7EB8942B994C3DF' (expires 11/12/2020 13:39:13)
[Y] Yes  [A] Yes to All  [N] No  [L] No to All  [S] Suspend  [?] Help (default is "Y"): y
PS C:\>
6. Set Virtual Directories if needed
In most cases you had a common namespaces for the client access virtual directories on the server, like "outlook.[domain name]" in our case, that all of our CAS servers share. To. Set them easily, check out our brief article here for details.
7. Create Empty Database for the users temporarily
This database will serve the users (receives incoming and handles outgoing messages) while the original databases are being restored.
The original server had a single database, called "DB01". We name this temporary one "TDB01" for simplicity. We create it in the c:\ExchangeDatabases folder, like we always do. If you have DAGs in your infrastructure it's extremely important to store your databases in the same location on each member servers.
Don't forget to restart the information store service and mount the database after it's created.
#Create the temporary database
New-MailboxDatabase -Name TDB01 -Server MB01 -EdbFilePath C:\ExchangeDatabases\TDB01\db\TDB01.edb -LogFolderPath C:\ExchangeDatabases\TDB01\logs

# Restart the Information Store service
Restart-Service MSExchangeIS

# Mount the database
Mount-Database TDB01
8. Move users from database DB01 to TDB01
While we are working on recovering the original DB01 from backups, we redirect those users who had their mailboxes on DB01 to the temporary mailbox database.
After this step users will be able to use their mailboxes immediately, although their mailboxes will be totally empty at this point. At least they can send and receive emails now.
Get-Mailbox -Filter * -ResultSize unlimited | ? Database -like "DB01" | Set-Mailbox -Database "TDB01" -Force
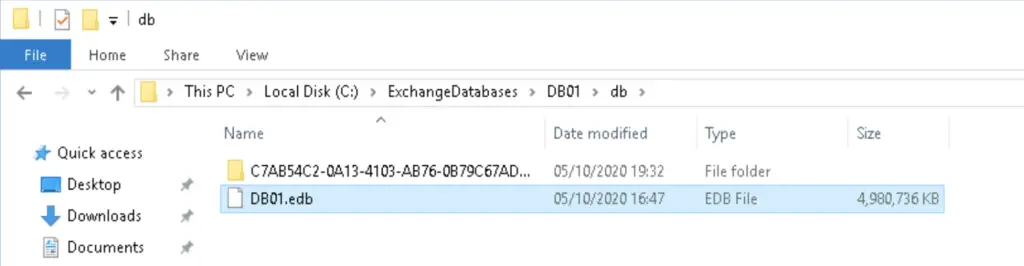
9.1 Copy the restored mailbox in the original location
When you manage to recover the mailbox database, check where it was originally stored and copy that content to that exact same location.
PS C:\> Get-MailboxDatabase DB01 | fl EdbFilePath, LogFolderPath


EdbFilePath   : C:\ExchangeDatabases\DB01\db\DB01.edb
LogFolderPath : C:\ExchangeDatabases\DB01\logs


PS C:\>
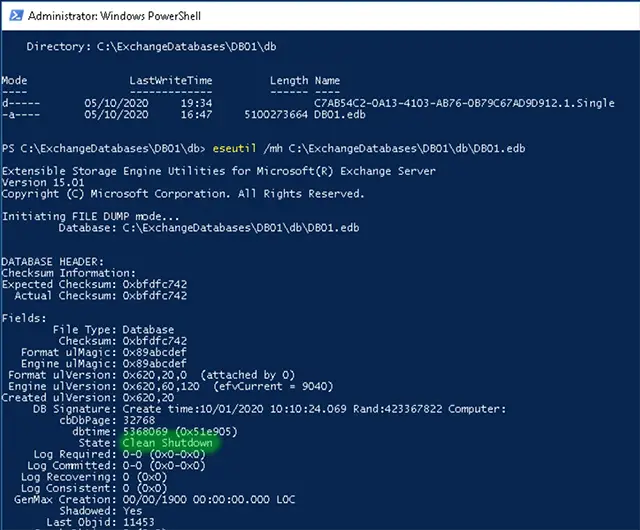
9.2 Check for dirty shutdown
If the backup was taken when the server was online, it's likely that the database shows a dirty shutdown state, indicating that there might the inconsistencies because of a possible writing operation happening when the backup was taken.
In that case, we must repair the database, unless Exchange won't mount it.
eseutil /mh C:\ExchangeDatabases\DB01\db\DB01.edb

# If dirty shutdown is registered, try soft repair. Get the correct prefix of E00, E01, etc checking your log files ( here they are located in C:\ExchangeDatabases\DB01\logs)
eseutil /r E00 /d C:\ExchangeDatabases\DB01\db\DB01.edb /l C:\ExchangeDatabases\DB01\logs

#If Doesn't work, hard repair
eseutil /p C:\ExchangeDatabases\DB01\db\DB01.edb

# To defragment the database, run:
eseutil /d C:\ExchangeDatabases\DB01\db\DB01.edb
9.3 Mount the original DB01
Mount-Database DB01
9.4 Move users from the TDB01 back to DB01
This step will be disruptive for users while it's happening they will experience connection loss to the server. After this step they will see the contents of their original mailboxes.
Get-Mailbox -Filter * -ResultSize unlimited | ? Database -like "TDB01" | Set-Mailbox -Database "DB01" -Force
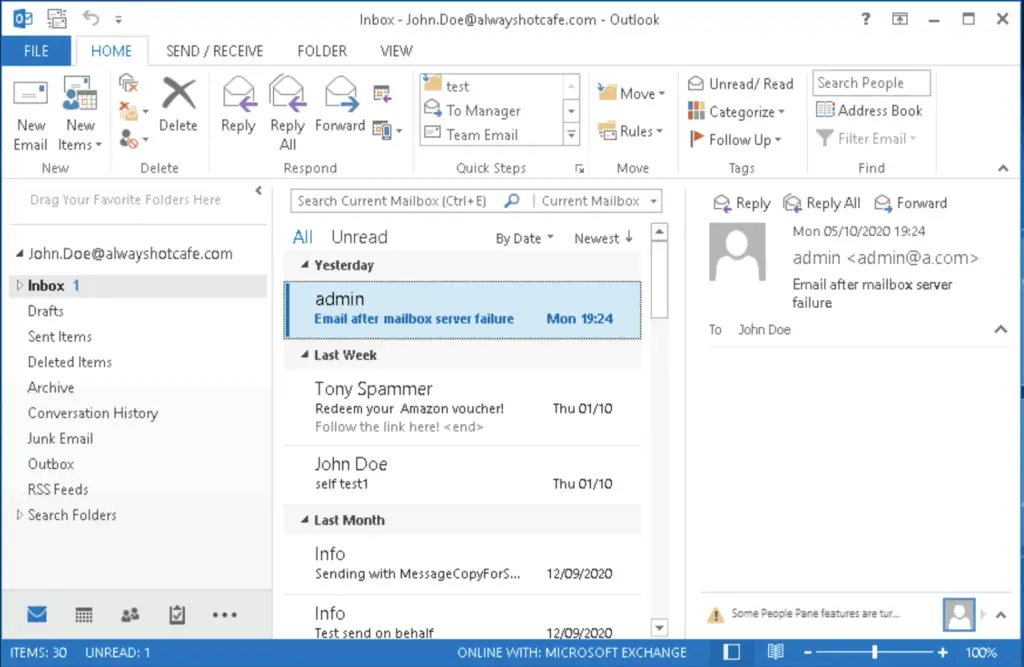
If they are online they will receive the following notification in Outlook. After they close Outlook and open it again they will see their old emails restored. They don't have their new messages that were accumulated while the original database was down. In the next step we copy those messages into their mailboxes.

9.5 Copy over the data from the temporary database
All is left is copy over those new messages that were generated while the original database was down. The following command will run through all the affected mailboxes and copy over the missing emails from the temporary database.
Get-Mailbox -Database DB01 | % { New-MailboxRestoreRequest -SourceStoreMailbox $_.ExchangeGuid -SourceDatabase TDB01 -TargetMailbox $_.Identity -ErrorAction silent}
10. Mailbox Server Restore is Done
Users now have their original data together with the new emails from the temporary database available. All back to normal!
It's safe to dismount and remove the temporary database from the server.
See you guys in the next one!
Comments