In this tutorial we will deploy a WordPress site for http://protectigate.com
We assume that a web server is already ready for us. If you don’t have one you can check the installation process for Debian (like Ubuntu) and RHEL (CentOS) based servers following the links.
After deploying a web server with PHP and mysql we need the following:
- Install additional packages for php to work
- Download and extract the latest WordPress framework to the server
- Configure mysql: add the database, database user with the correct rights to our instance
- Go through the initial WP setup
Install additional packages
# Install the repos containing the newer php packages
sudo apt install software-properties-common
sudo add-apt-repository ppa:ondrej/php
sudo apt -y update

# Install php 7.4 and extensions
sudo apt -y install php7.4 php7.4-{mysql,mbstring,bcmath,bz2,curl,imagick,dom,zip} libapache2-mod-security2 wget
Prepare the website location and files
#Create storage directory
mkdir -p /var/www/protectigate

# Download the latest WordPress framework
wget https://wordpress.org/latest.tar.gz

# Unpack it, the "wordpress" directory will appear
tar xzf /var/www/protectigate/latest.tar.gz

# Clean up after ourselves
rm latest.tar.gz

# Move it in /var/www and rename the directory to match the website name
mv wordpress/* /var/www/protectigate

# Copy the wp-config template file to wp-config.php which WordPress will check for the active configuration
cp /var/www/protectigate/wp-config-sample.php /var/www/protectigate/wp-config.php

# Change owner of the website files to enable management, and upload through the WebUI
chown www-data:www-data -R /var/www/protectigate
Create the Virtual Host for the domain
On a single apache server there can be as many sites hosted as desired. For instance protectigate.com, opentechtips.com, a.com, etc can all resolve to the same public IP address, to this same Ubuntu machine.
When a website is requested by a client, the query packet contains the name of the site that it wants to access, this is how the server knows that if protectigate.com is needed, load the index.php file from the /var/www/protectigate directory, not from /var/www/opentechtips, etc. This configuration is stored in so called virtual directories.
For each virtual directory a separate .conf file that contains the domain name, probably alias name (that is usually the www.websitename.com version) and the folder that contains the actual website. So go ahead and create the virtual directory file for protectigate:
vi /etc/apache2/sites-available/protectigate.conf
<VirtualHost *:80>
            DocumentRoot /var/www/protectigate
            ServerName protectigate.com
            ServerAlias www.protectigate.com
            <Directory "/var/www/protectigate">
                        AllowOverride All
            </Directory>
</VirtualHost>
We also need to create a symbolic link in /etc/apache2/sites-enabled to make the site active:
ln -s /etc/apache2/sites-available/protectigate.conf /etc/apache2/sites-enabled/protectigate.conf

# Restart the apache2 service to load the changes
systemctl restart apache2
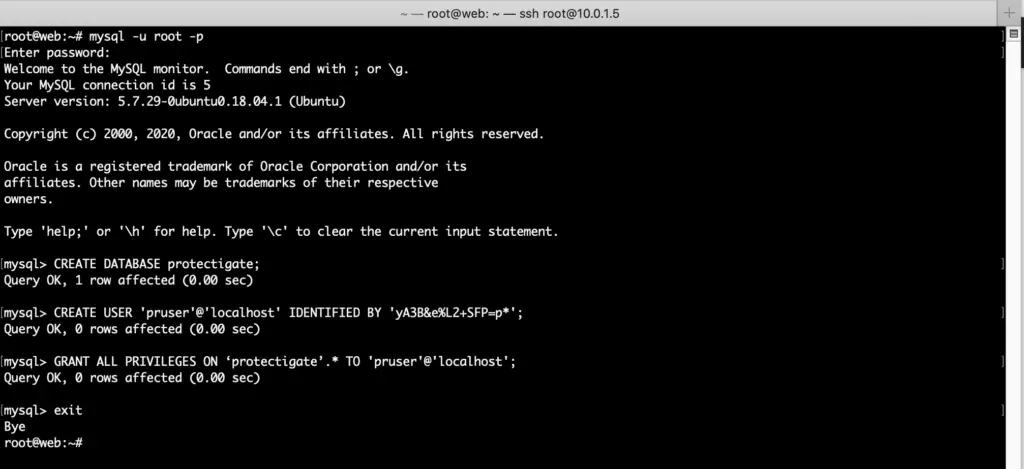
Configure mysql
# Connect to the mysql instance locally
mysql -u root -p

# Create database
mysql> CREATE DATABASE protectigate;

# Create mysql user
mysql> CREATE USER 'pruser'@'localhost' IDENTIFIED BY 'yA3B&e%L2+SFP=p*';

# Give the user access to the new database
mysql> GRANT ALL PRIVILEGES ON protectigate.* TO 'pruser'@'localhost';

mysql> exit
Now it time to add the new mysql data to the wp-config.php file for WordPress
wp-config.php
# Open the wp-config.php file for editing, adding the new database name, mysql username and password to it
vi /var/www/protectigate/wp-config.php
wp-config.php
<?php
/**
* The base configuration for WordPress
*
* The wp-config.php creation script uses this file during the
* installation. You don't have to use the web site, you can
* copy this file to "wp-config.php" and fill in the values.
*
* This file contains the following configurations:
*
* * MySQL settings
* * Secret keys
* * Database table prefix
* * ABSPATH
*
* @link https://wordpress.org/support/article/editing-wp-config-php/
*
* @package WordPress
*/

// ** MySQL settings - You can get this info from your web host ** //
/** The name of the database for WordPress */
define( 'DB_NAME', ‘protectigate' );

/** MySQL database username */
define( 'DB_USER', 'pruser' );

/** MySQL database password */
define( 'DB_PASSWORD', 'yA3B&e%L2+SFP=p*');

/** MySQL hostname */
define( 'DB_HOST', 'localhost' );

/** Database Charset to use in creating database tables. */
define( 'DB_CHARSET', 'utf8' );

/** The Database Collate type. Don't change this if in doubt. */
define( 'DB_COLLATE', '' );

/**#@+
* Authentication Unique Keys and Salts.
*
* Change these to different unique phrases!
* You can generate these using the {@link https://api.wordpress.org/secret-key/1.1/salt/ WordPress.org secret-key service}
* You can change these at any point in time to invalidate all existing cookies. This will force all users to have to log in again.
*
* @since 2.6.0
*/
define( 'AUTH_KEY', 'put your unique phrase here' );
define( 'SECURE_AUTH_KEY', 'put your unique phrase here' );
define( 'LOGGED_IN_KEY', 'put your unique phrase here' );
define( 'NONCE_KEY', 'put your unique phrase here' );
define( 'AUTH_SALT', 'put your unique phrase here' );
define( 'SECURE_AUTH_SALT', 'put your unique phrase here' );
define( 'LOGGED_IN_SALT', 'put your unique phrase here' );
define( 'NONCE_SALT', 'put your unique phrase here' );

/**#@-*/

/**
* WordPress Database Table prefix.
*
* You can have multiple installations in one database if you give each
* a unique prefix. Only numbers, letters, and underscores please!
*/
$table_prefix = 'wp_';

/**
* For developers: WordPress debugging mode.
*
* Change this to true to enable the display of notices during development.
* It is strongly recommended that plugin and theme developers use WP_DEBUG
* in their development environments.
*
* For information on other constants that can be used for debugging,
* visit the documentation.
*
* @link https://wordpress.org/support/article/debugging-in-wordpress/
*/
define( 'WP_DEBUG', false );

/* That's all, stop editing! Happy publishing. */

/** Absolute path to the WordPress directory. */
if ( ! defined( 'ABSPATH' ) ) {
 define( 'ABSPATH', __DIR__ . '/' );
}

/** Sets up WordPress vars and included files. */
require_once ABSPATH . 'wp-settings.php';
Accessing the site
We have two options, either make the website available from the internet, and start editing it, or we can simply add the protectigate.com entry to our hosts file and open the site then.
I go with the second option, opening my hosts file so my client computer won’t query the DNS servers for the IP of protectigate.com, as the hosts file takes precedence every time a name lookup is made. I edit from a Mac so the host file is located in /etc/hosts, on a Windows machine it is in c:\windows\system32\drivers\etc\hosts. Note that you need to edit the file as admin from an elevated command prompt or on a Unix machine as superuser.
vi /etc/hosts
##
# Host Database
#
# localhost is used to configure the loopback interface
# when the system is booting.  Do not change this entry.
##
127.0.0.1       localhost
255.255.255.255 broadcasthost
::1             localhost

10.0.1.5        protectigate.com
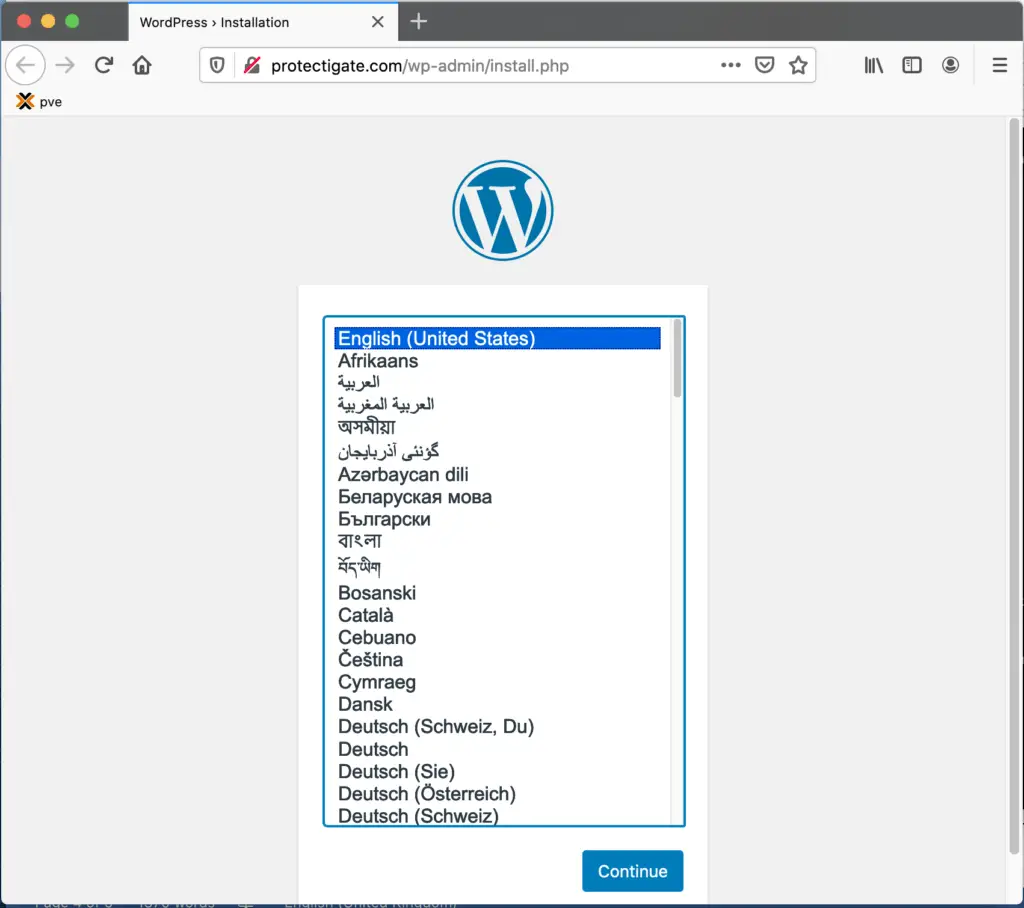
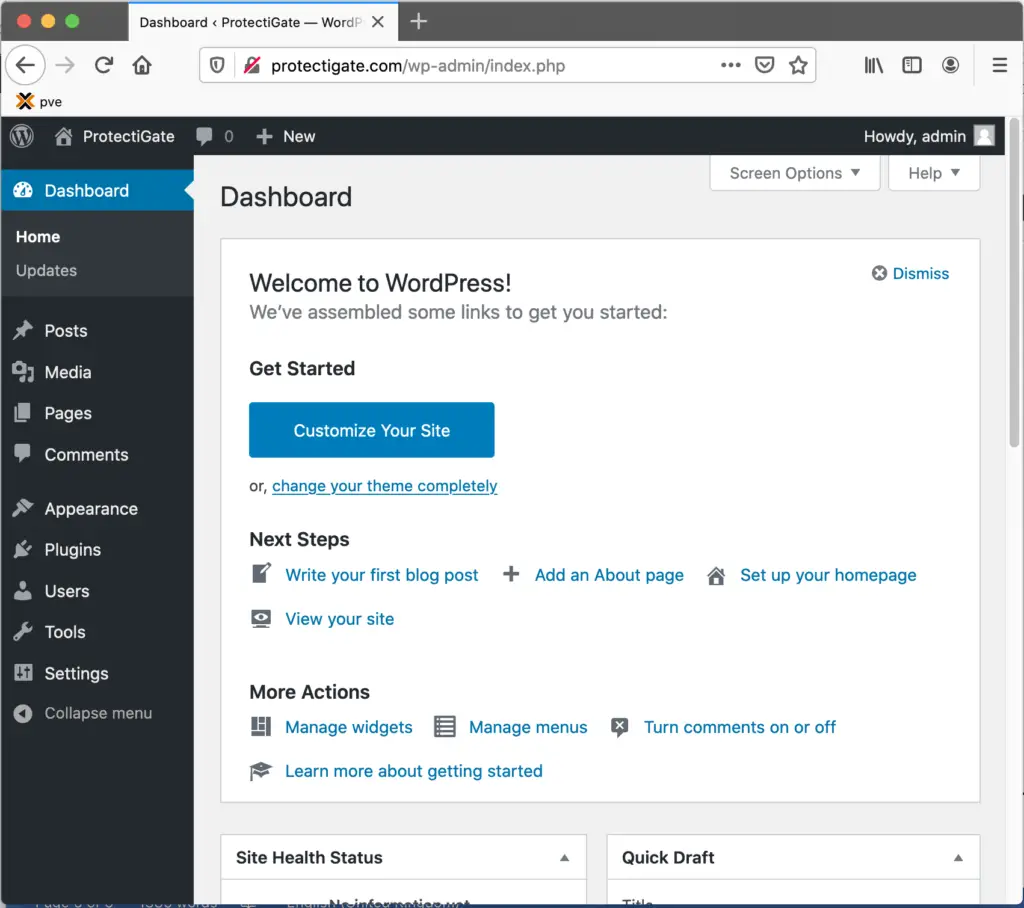
We can browse to the webpage now and set up our new WordPress site 🙂
Comments